Scheduling versus dispatching – Universal Resource Scheduling
Depending on your organization, you might create bookings and want them to immediately appear on your field technicians’ mobile devices. But what if you want to plan the whole day and have new bookings appear for technicians as you see fit?
The field service industry often refers to this differentiation as “scheduled versus dispatched.”
Out of the box, all bookings will appear on the technician’s mobile application. However, it’s easy to implement the scheduled-versus-dispatched concept.
Step 1: Create a booking status
First, create a new booking status. For more information on how to do so, check out our documentation.
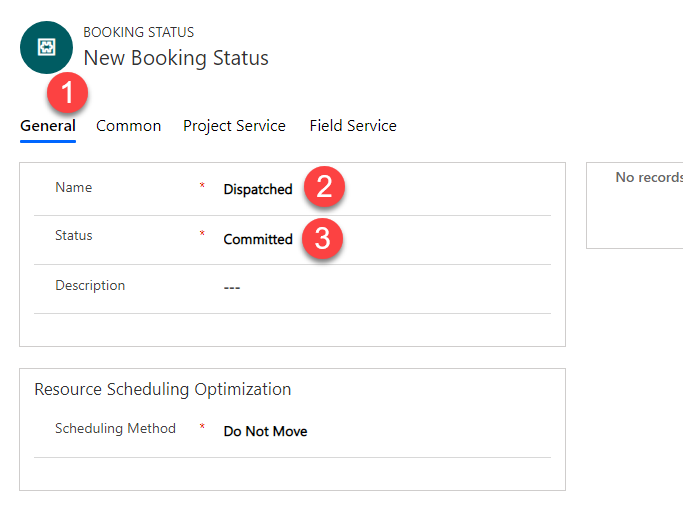
- Select New Booking Status. Let’s call it “Dispatched.”
- Set the Status field to Committed.
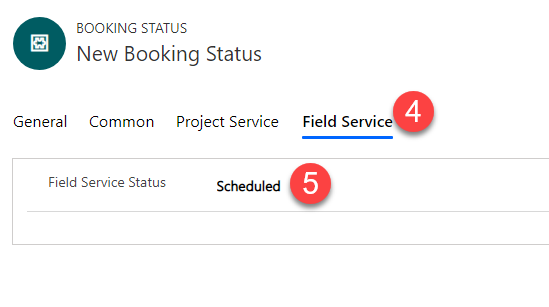
Make sure the Field Service Status on the booking status record is set to Scheduled.
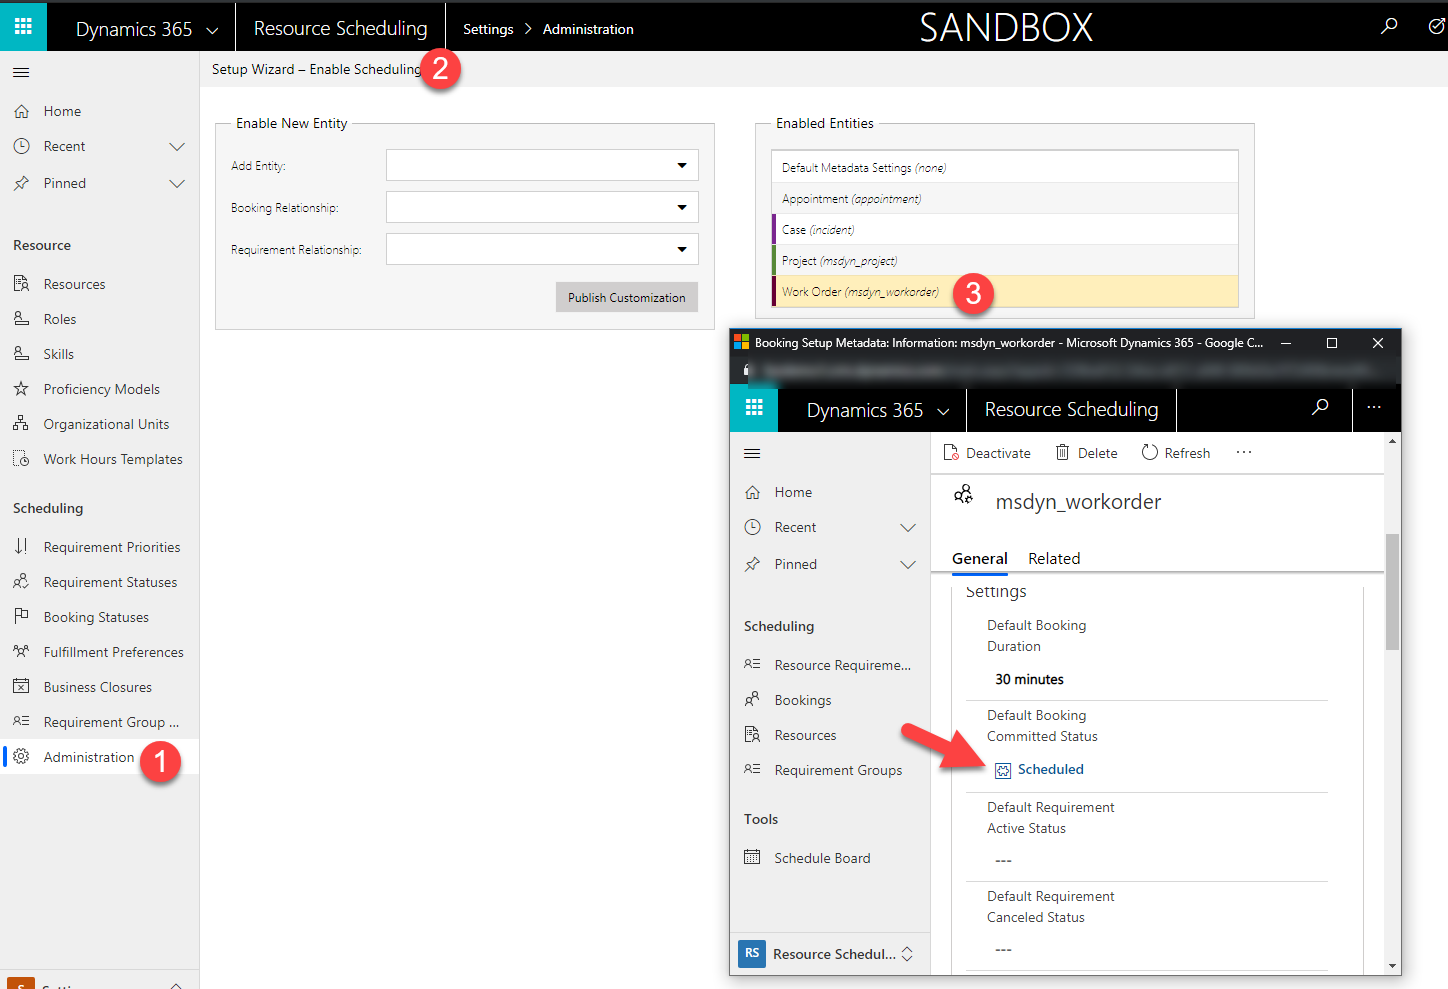
Each booking setup metadata record (BSM) can have a unique default booking status. This will not update when you add a new booking status. Since the default status is set to Scheduled, when you first create bookings, the status will be set to Scheduled because this is a booking for a work order, and the work order BSM record has the default committed status set to Scheduled.
 documentation and my previous blog post for even more advanced functionality.
Step 2: Adjust mobile configuration
Adjust your mobile configuration to exclude bookings from the mobile application with the status Scheduled.
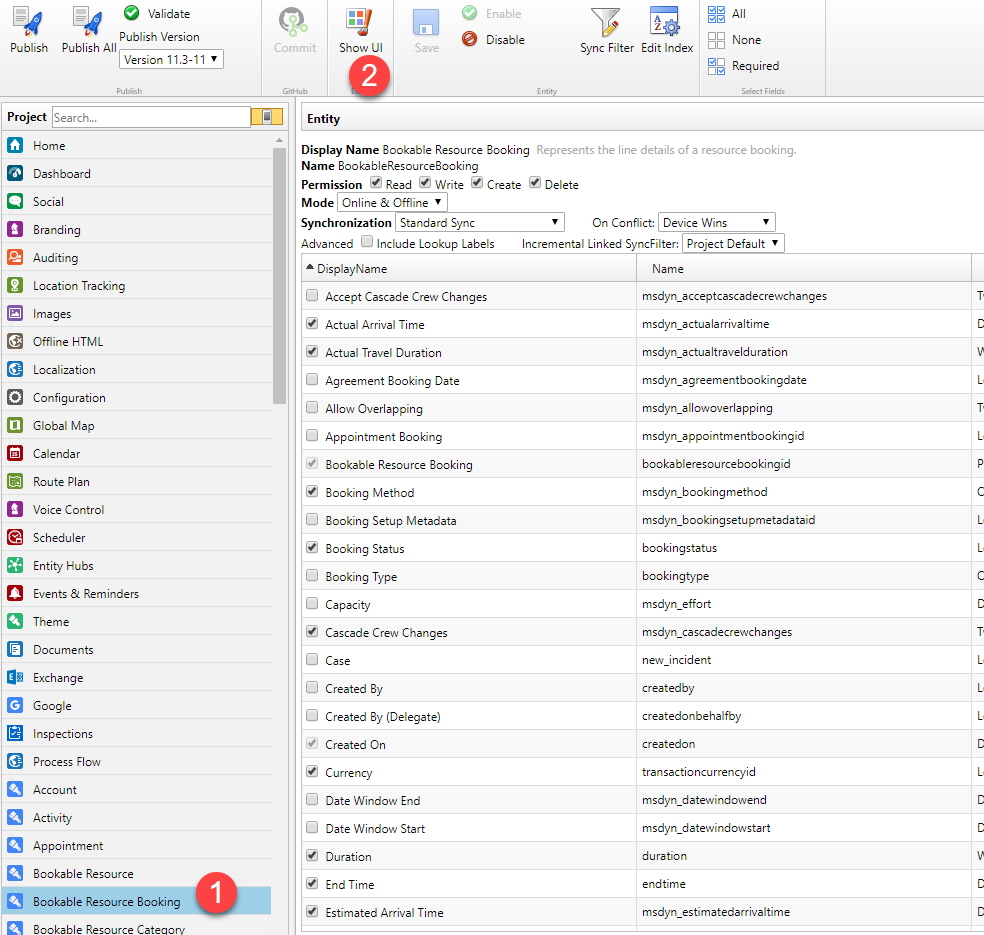
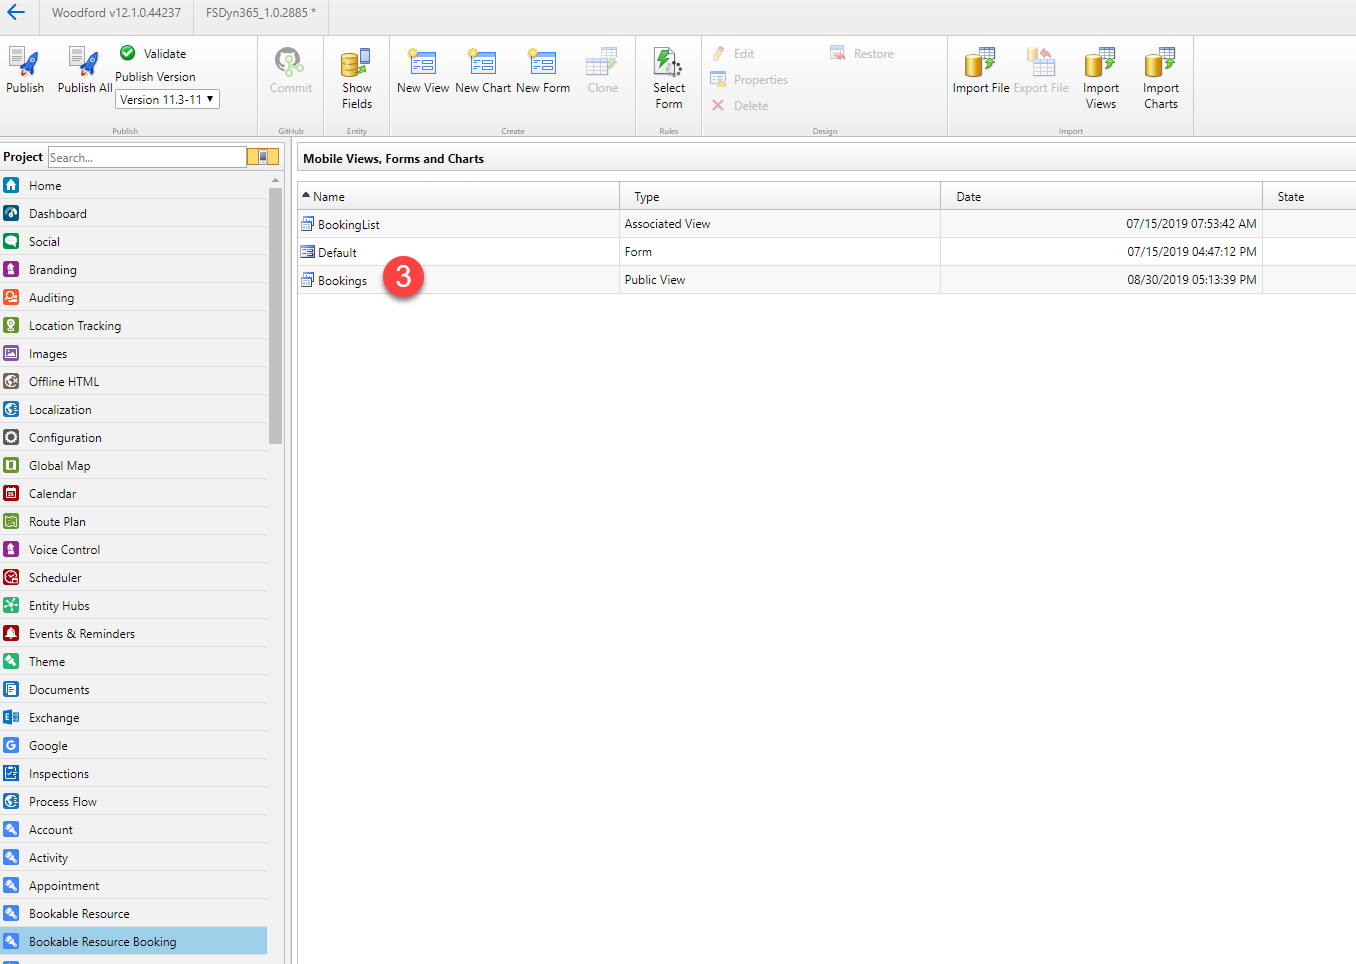
- Open your Field Service mobile configuration app and open your mobile project.
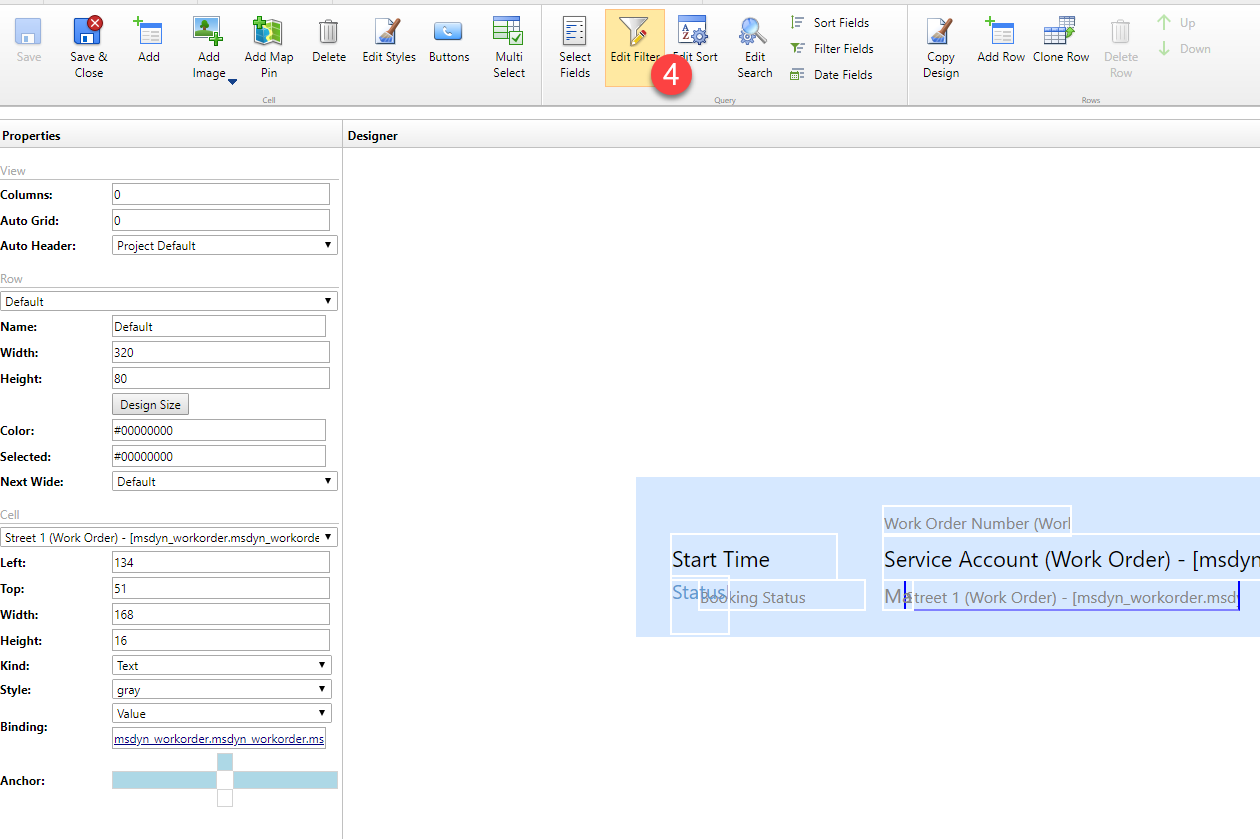
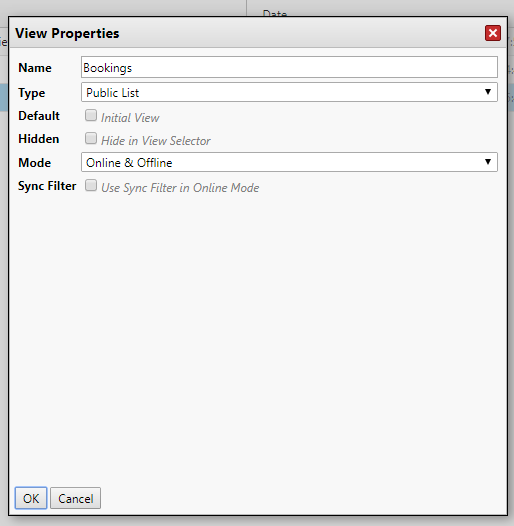
- Go to the bookings view, and change the edit filters and the sync filters (if you work offline) to exclude Scheduled bookings and ensure bookings with the status Dispatched are included.
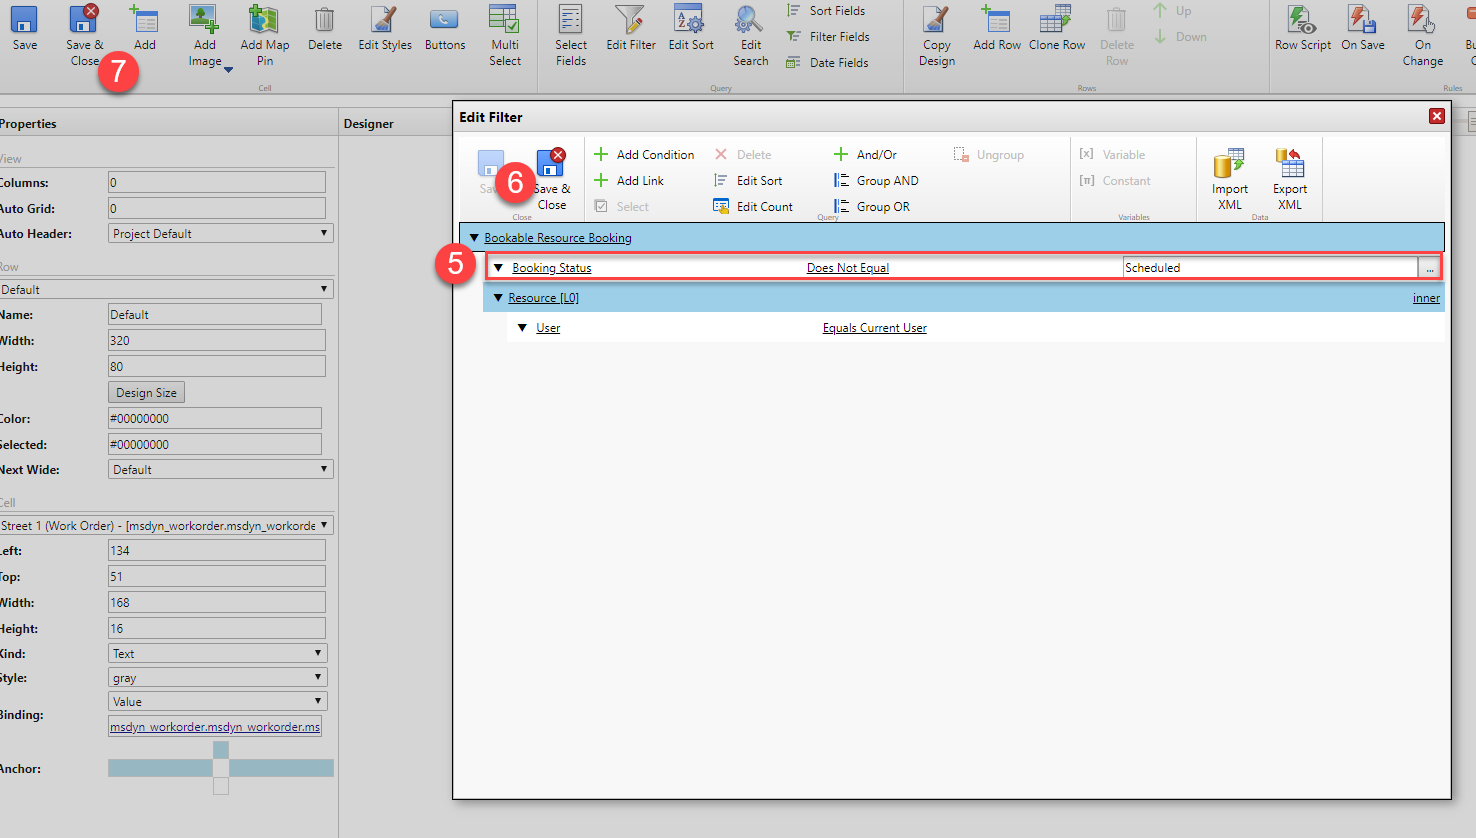
- Add the following condition to your Sync Filter:
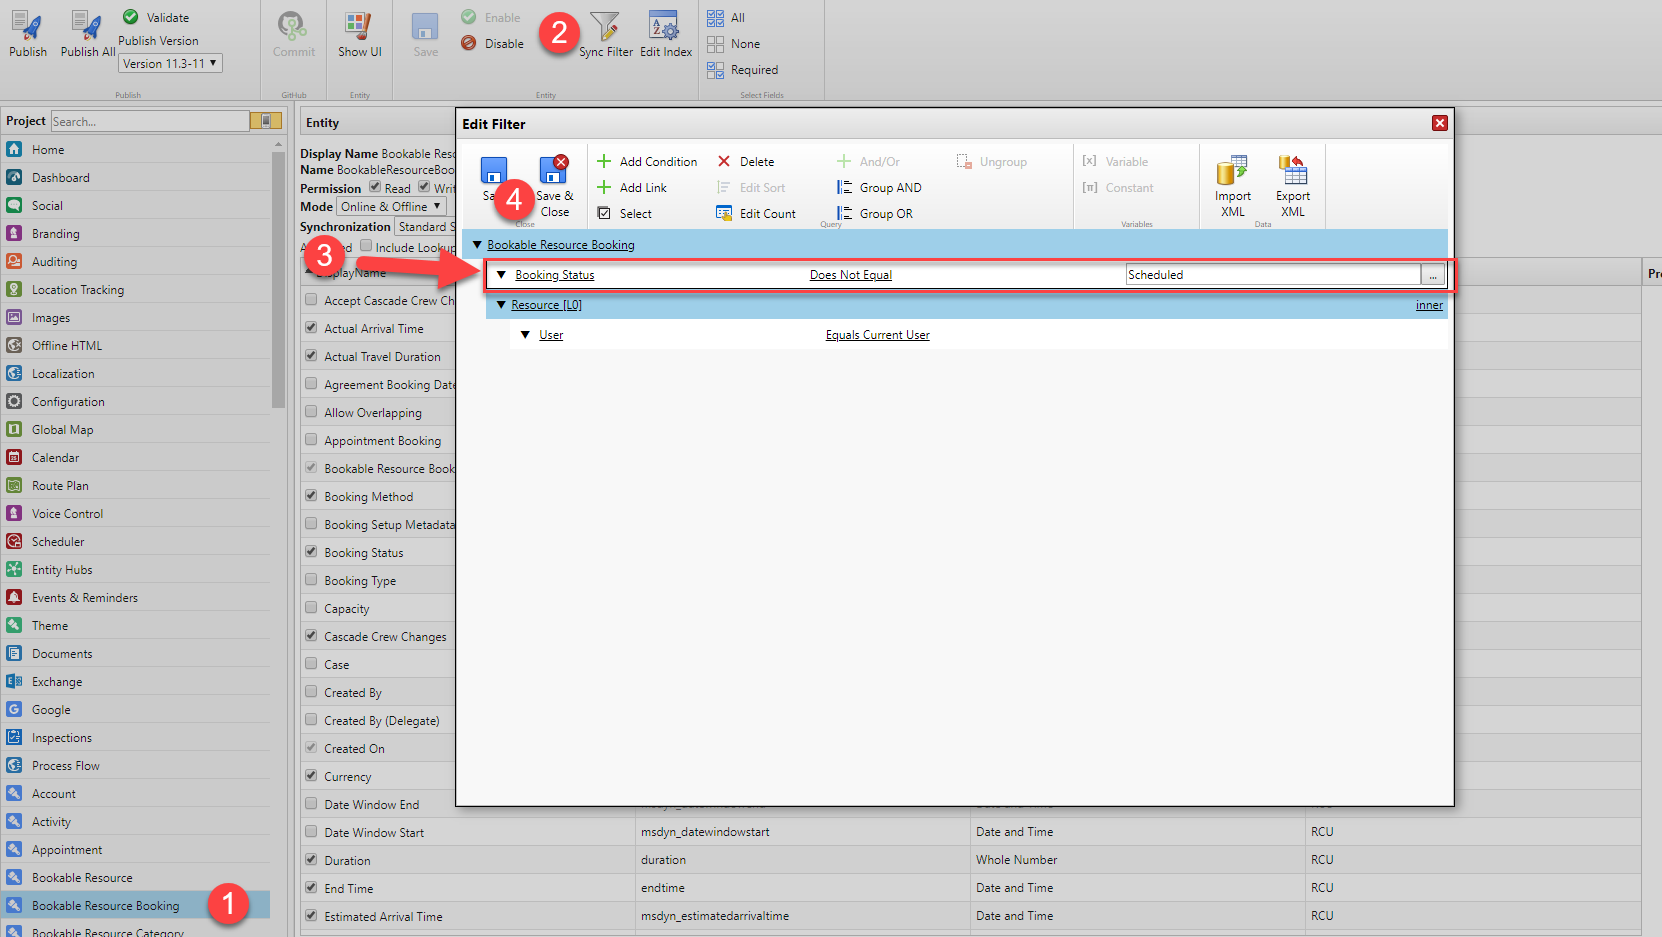
- Add the same condition to your Edit Filter:
You can also avoid setting up both the sync and edit filters by choosing to use sync filters in online mode, but that’s a topic for a more detailed mobile blog post!
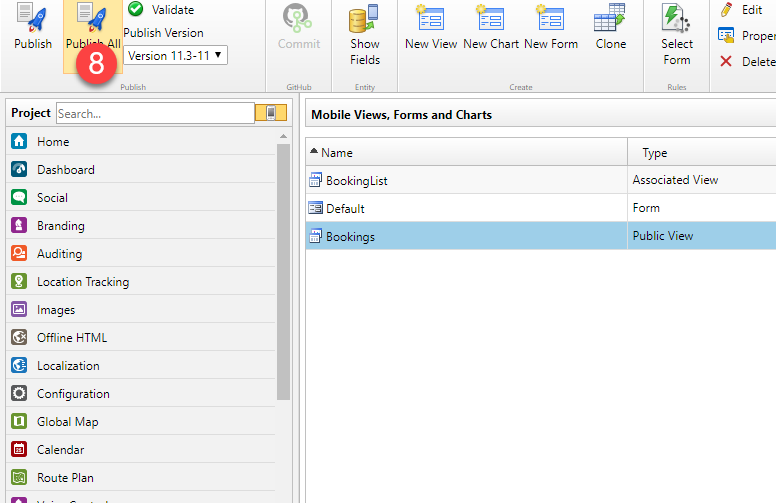
When you are ready, publish the project. In the following screenshot, I am “publishing all,” but make sure you use proper practices when updating your mobile configuration!
Now, just synchronize your mobile application. Since there are configuration updates, you will be prompted to download the new configurations on the mobile app.
Let’s see it in action!
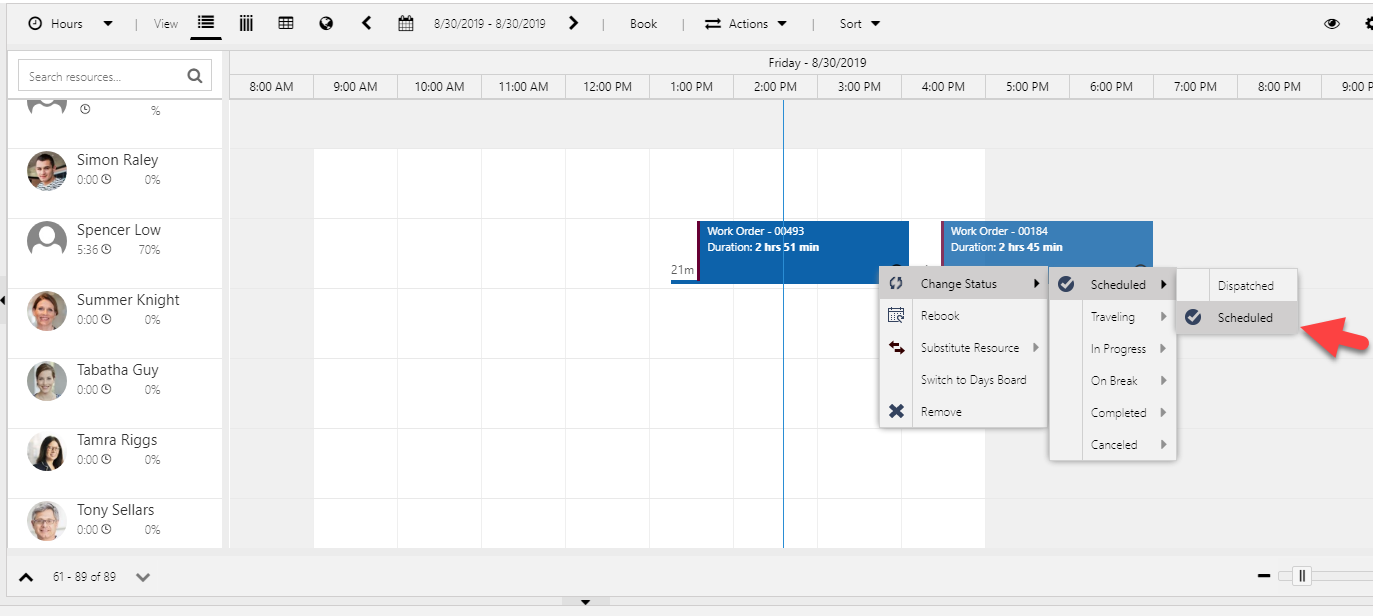
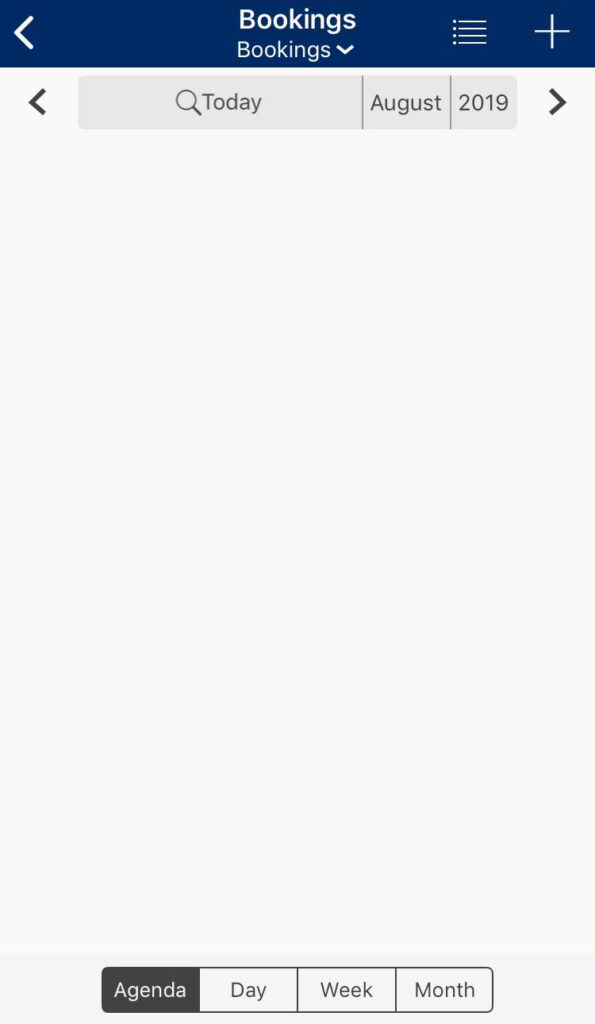
In the following screenshot example, I have two bookings on the schedule board for Spencer, both with the Scheduled status.
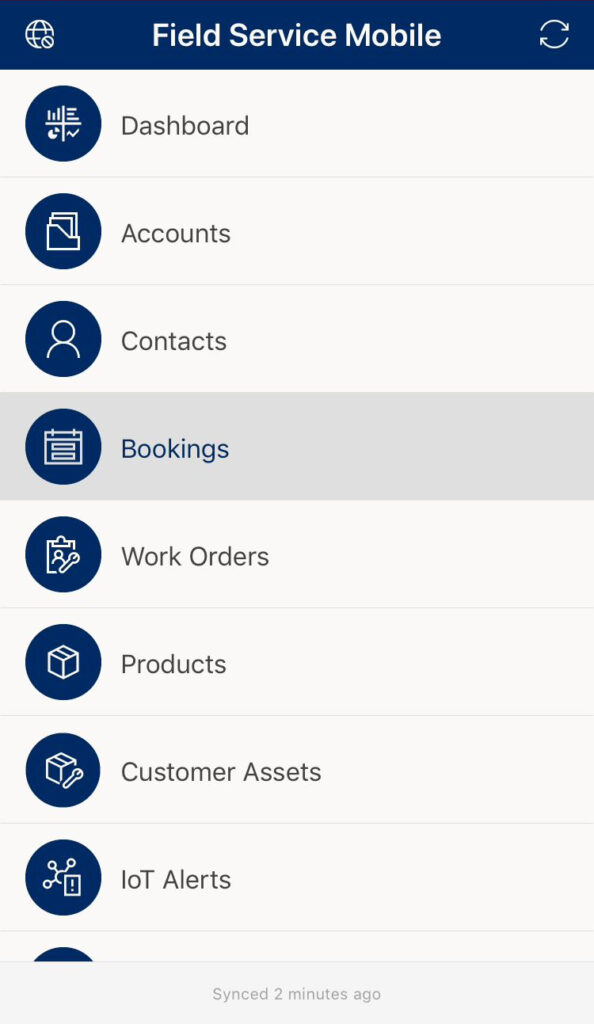
We can take a look at the mobile application and see that this booking does not appear on the mobile app.
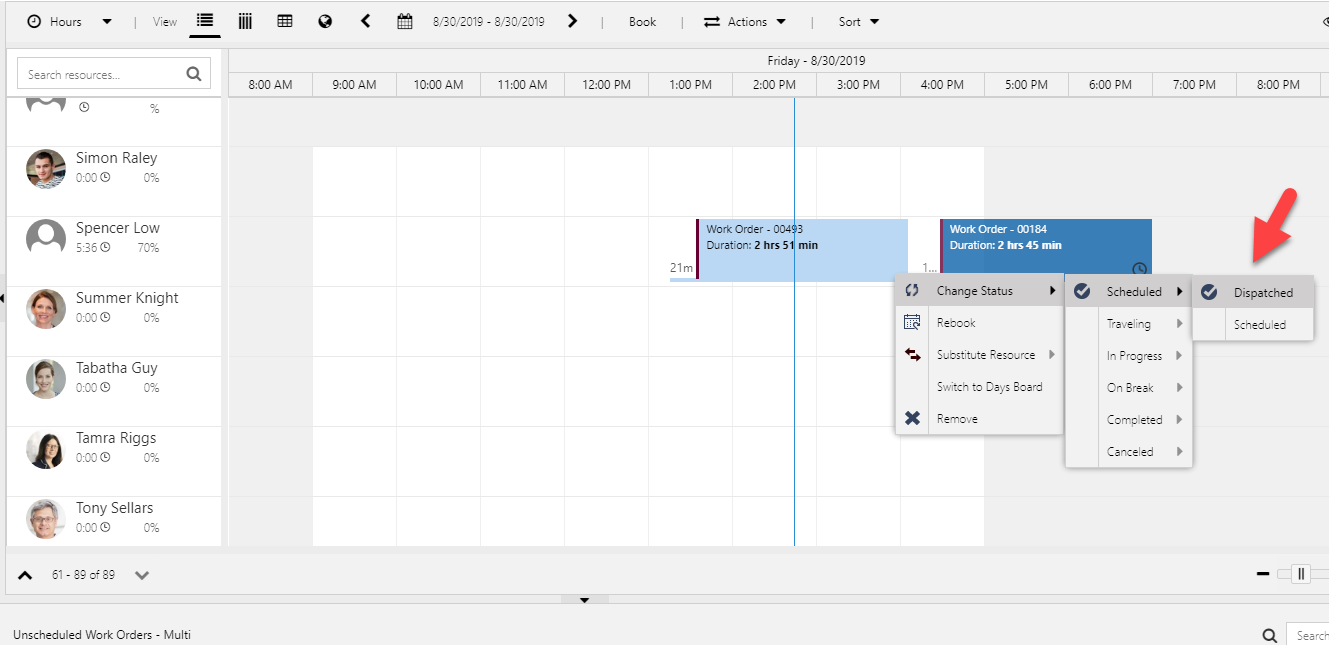
Now, I will right-click the first booking and change the status to Dispatched.
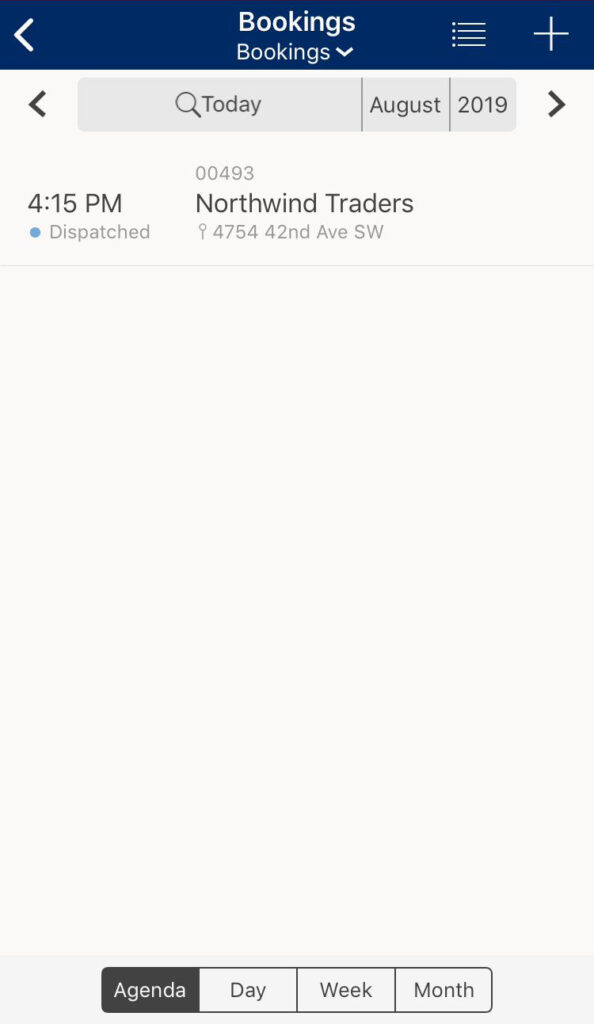
I sync the mobile application again, and we can see the booking with the Dispatched status appear on the mobile application!
That’s it!
Happy Scheduling!
Dan Gittler, Principal PM Manager