NAV 2009 Tips and Tricks: Customize the Navigation Pane
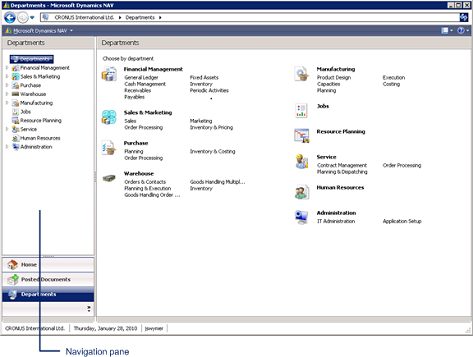
You can add and delete buttons and lists in the Navigation Pane.
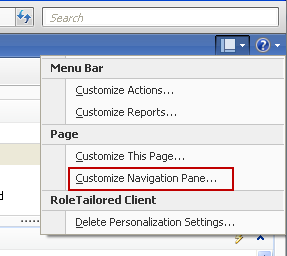
1. In the top right corner of the Role Center, click Customize button.
2. Click Customize Navigation Pane.
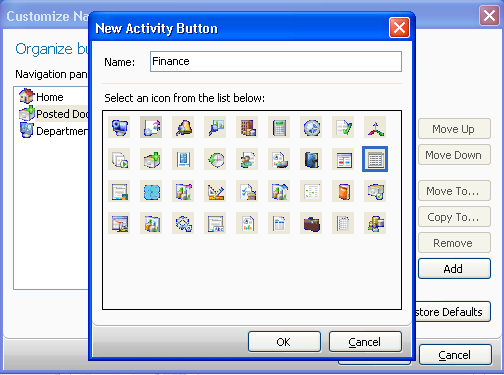
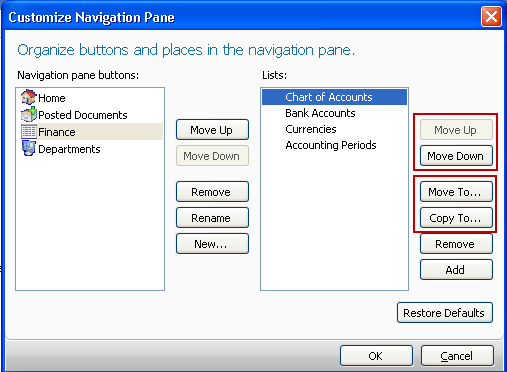
3. In the Customize Navigation Pane window, click New to create a new button.
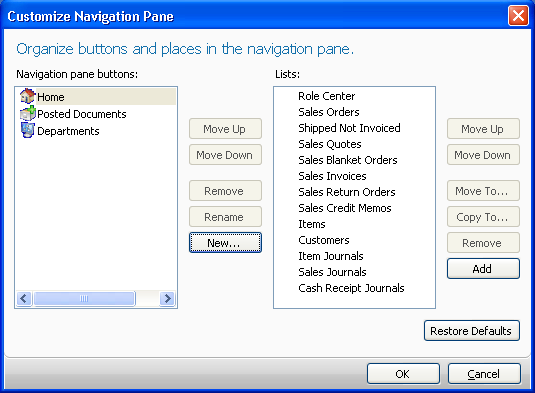
4. Type a name for the new button.
5. Choose an icon.
6. Click OK.
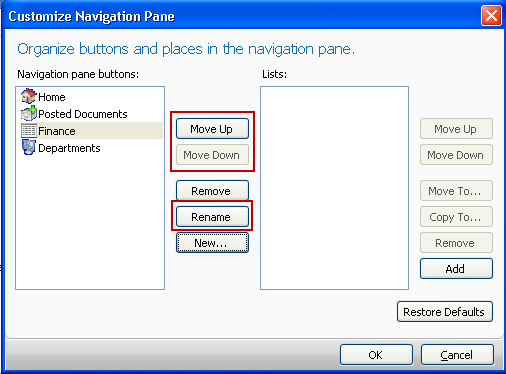
7. Use Move Up, Move Down, and Rename to edit the position and name of the new button.
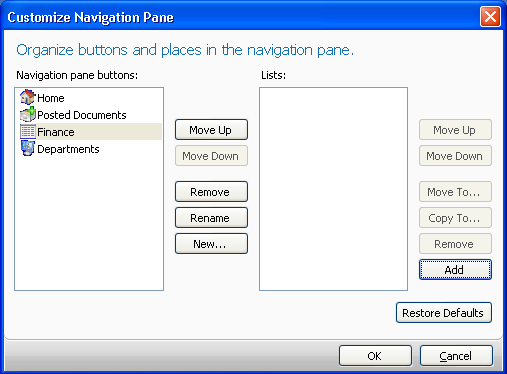
8. Click Add to add new lists.
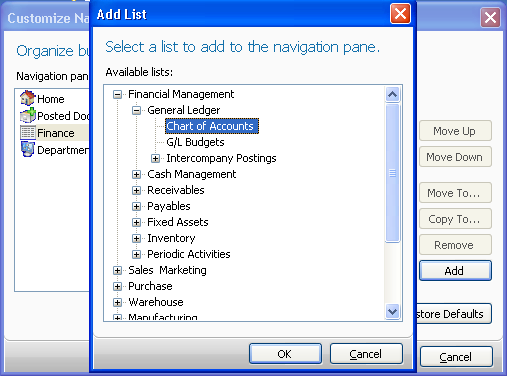
9. Browse to the list you want to add.
10. Click OK.
11. Repeat steps 8 through 10 for all the lists you want to add.
12. Use Move Up and Move Down to edit the position of the lists.
13. Use Move To and Copy To to move lists from one navigation pane button to another.
14. Click OK.
15. Click Yes to restart the Role Tailored Client.

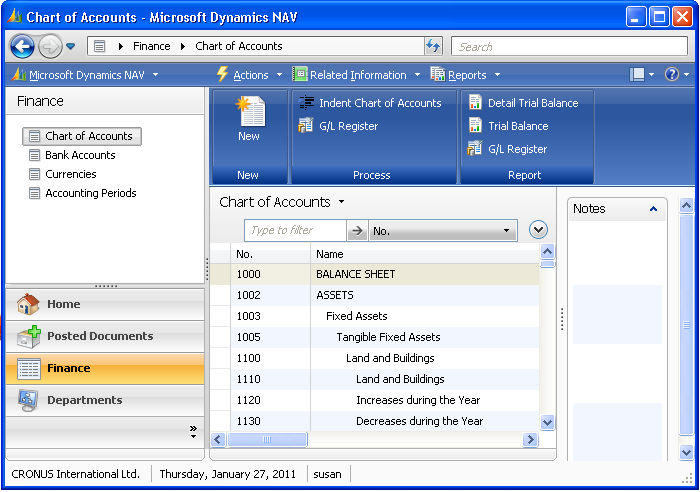
After restart, the changes will be applied to the Navigation Pane.