Transferring Data from One CRM Organization to Other Organization
Many a times you would have the need to transfer data from one Microsoft Dynamics CRM organization to another for some record type. This blog covers the steps you can follow to move data from one organization to another using Import Wizard. Let us take example that you want to move data for Account and Contact record types.
1. Create a view of all fields for the record type Account.
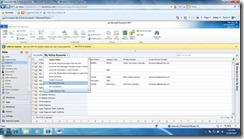
a. Go to accounts Grid and click on Create personal view
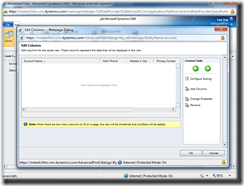
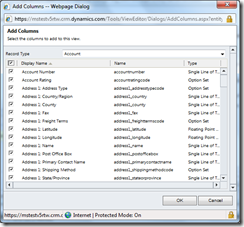
- Click Edit Columns in the dialog that pops up and then click Add Columns.
- Click the checkbox in the header to select all columns. (This will export data for all columns, some of which may not be importable)
- Click ‘ok’ and then Click ‘Save’ on the Ribbon in Advanced find dialog. It will prompt you for name of the view .Provide the name for the view.
2. Navigate to view (Account) and Export the data in Static Excel format.
a) Go to Accounts Grid.
b) Navigate to Accounts view.
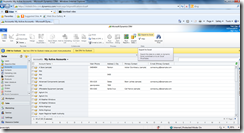
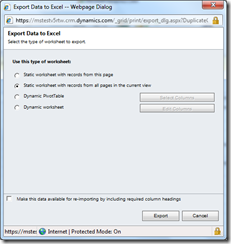
c) Click Export to Excel.
d) Select “Static worksheet with records from all pages in current view”.
e) Click Export and save the file. (Account.xls)(The records that are exported will be based on the record for which you had privileges).
f) Save the file in CSV /XMLSS format from Excel. (Account.csv)
Note: Do not check make this data available for reimport checkbox as this feature is meant to export and update data in the same organization and not for cross organization data migration.
2: Similarly export the data for Contact record type and save as CSV/XMLSS file.(Contact.csv).
3: Zip the two files in a single Zip file (ExportedData.zip).
4: Use Import Wizard to Import the file
- Launch Import Wizard and Upload the zip file in Import Wizard.
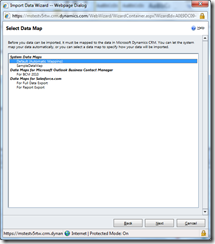
- Select Default (Auto mapping) as shown in the screenshot below.
As the file names match with the Record type display name in this example so files will be automatically mapped. (Map the files with respective record types if they are not auto mapped.)
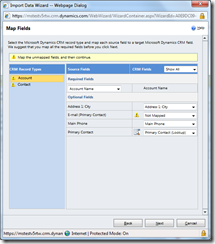
- At Map field page, fields whose name matches will automatically will be mapped. Check the mappings and if there are fields which are not mapped then map those. If there are customizations (e.g. some custom fields) that you want to do you can do it from Import Wizard itself. You can create new field from Import Wizard and do the mappings. If you want to ignore all unmapped fields, click Next. All unmapped fields will be ignored.
- Finish the Import Wizard and Wait for Import jobs to finish. You can check their status in Imports grid. That is it you are done Importing data for these record types.
