
AX For Retail: Printing a logo on receipts
Printing a company logo on receipts is a common practice which can easily be implemented in the AX for Retail POS. The process descibed below applies whether you are using AX 2009 or AX 2012. Note this only applies when using an OPOS printer. See the update note at the end for further details.
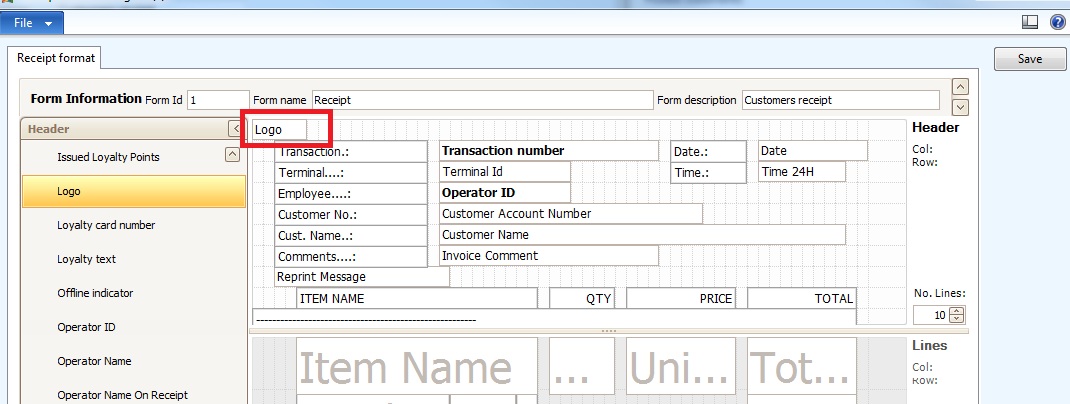
The first step is to add the Logo field to your receipt’s layout. To add this, open the Receipt designer for the desired receipt. Select either the Header or Footer section using one of the buttons in the lower left, as these are the only areas where the logo is permitted. Next, locate the Logo object in the list of available fields and drag it to the desired location within the layout. The area highlighted in red shows where the logo has been placed in a sample layout. Click the Save button, close the designer, and run the scheduler jobs to push changes to the terminal.
The second step is providing the logo image. The logo must be a .bmp image. You may need to experiment with image dimensions and file size to find those that work best with your printer. If you are having trouble with this you may need to contact the printer manufacturer for specifications. Attached to this post is a sample RetailPOSLogo.bmp image that I commonly use in testing.
Once you have a BMP image that you are ready to test, you need to do one of two things in order for it to be printed:
- Name the file RetailPOSLogo.bmp and copy it into the \Retail POS\ folder, along with the POS.exe. The image must have this exact name.
- Using utilities provided by the manufacturer, upload the image into the printer’s NVRAM. There may be additional configuration needed on the printer if you choose this route. For assistance with this process consult the printer’s documentation or manufacturer. I suggest testing with the RetailPOSLogo.bmp process and if desired attempt the printer upload later. This way you have a known working image and would be limited to troubleshooting printer setup.
The last step in this process is testing. Start the Point of Sale, login, and perform an operation to print the modified receipt. For example, if you have just modified the Customer receipt all you need to do is ring up an item and perform the payment operation. If all has gone well you should see the Logo image on your receipt.
A few final notes on receipt logo printing:
- If your receipt layout changes don’t seem to be getting saved, make sure you are clicking the Save button. Closing the layout designer without clicking Save will discard your changes unlike most AX forms.
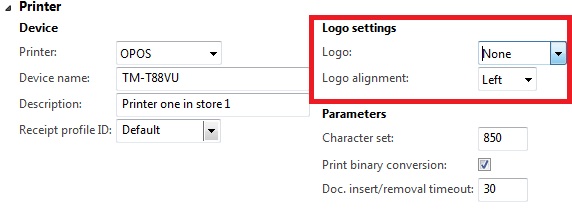
- If you’ve noticed the Logo settings from the screenshot below in the Hardware profile, do not be confused. These settings are deprecated and do not impact the printing of the Logo.
- If desired, the above settings could be implemented through customization of the receipt printing logic using the POS Plug-ins
- With some printers, we have seen that adding the Logo object to the receipt layout will cause receipts to print blank, or with just the receipt barcode if barcodes are enabled. This occurs when the printer cannot print the image, or if there is not an image found. To resolve this you just need to find an image that works, or remove the logo object from your layout.
Update: I recently had an inquiry on the topic of printing logos in which a Windows printer was being used. The printing of a logo image is only done when using an OPOS printer. This may be a potential customization in the Peripherals service available through the Retail Plug-ins as that is where you can find the code used to print with both OPOS and Windows devices.


