
How to Manage Auto Save for individual forms of entity
In our previous blog we had discussed about how to manage auto save. We learned about the auto save capabilities and also discussed few scenarios where you might want to disable it. We discussed about how to control this at the organization level as well. The organization level setting turns off auto save for all the entities. In some scenarios, you may want to keep auto save enabled for all entities and only disable it for a specific form of an entity. In this blog we are going to discuss about how to control auto save for individual entities at the form level.
Forms support capability to attach java script method as OnSave event. One of the way to prevent auto save is to add a handler which prevent auto save. Let’s dig further and understand how to achieve this in Microsoft Dynamics CRM 2013.
Step 1 Create Java script file\method
Create a new Javascript file preventAutoSave.js with the following method.
function preventAutoSave(econtext) {
var eventArgs = econtext.getEventArgs();
if (eventArgs.getSaveMode() == 70) {
eventArgs.preventDefault();
}
}
A new value is added to save event mode i.e. AutoSave (value = 70). Other important values of Save Mode options are given below.
| Event Mode | Value |
| Save | 1 |
| Save And Close | 2 |
| Save and New | 59 |
| Save as Completed | 58 |
| AutoSave | 70 |
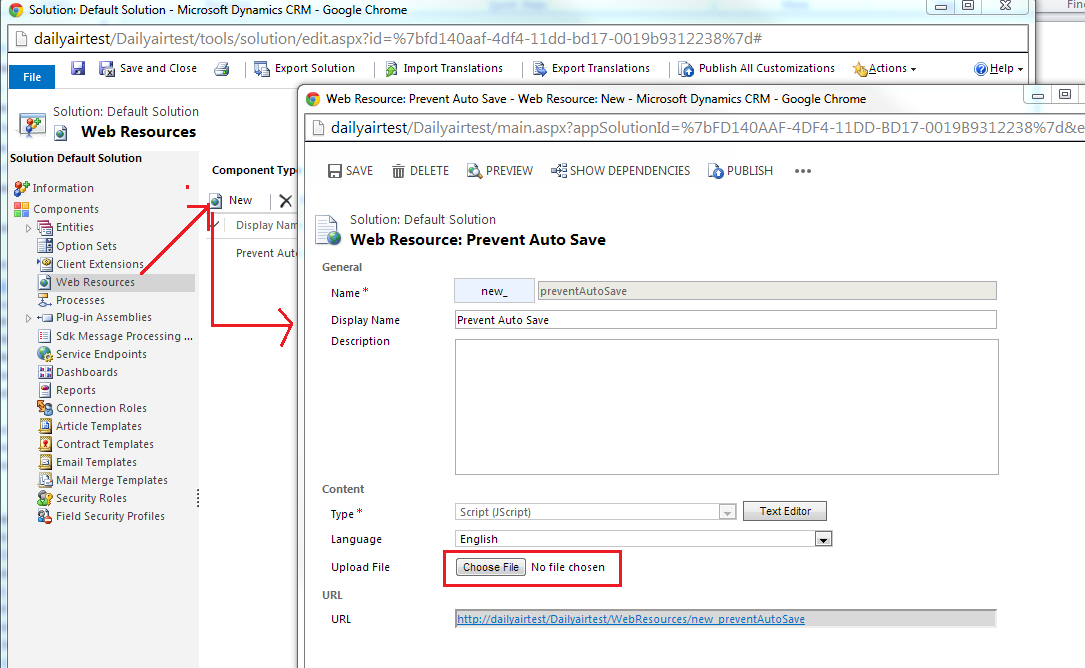
Step 2 Upload this Javascript as webresource in CRM
Navigate to Settings > Customization > Customize the System. Navigate to Web Resources in Solution explorer. Create new web resource of type JScript.
Step 3 Associate Jscript as web resource with Form
Launch form editor for a respective form of the entity for which you want to block auto save. Form Editor can be launched from entity record (form Editor Command) or from Customization area.
Click on Form Properties > Events > Form Libraries > Add (add preventAutosave.js)

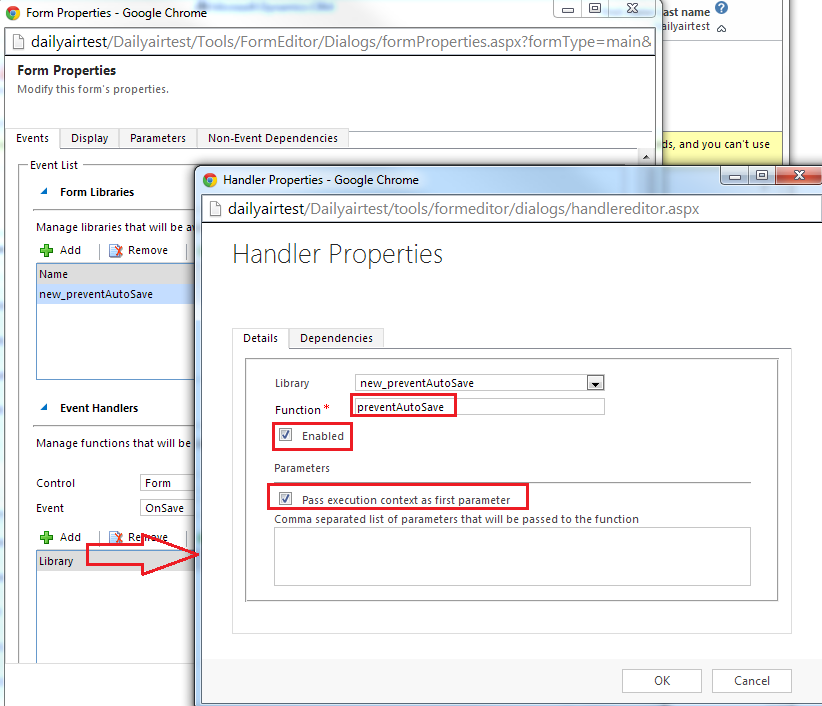
Step 4 Associate jscript method to prevent auto save as OnSaveHandler with form
In event handlers section of form properties window set event to OnSave and click Add to set preventAutoSave.js as library. Set preventAutoSave as the function and ensure that Enabled is checked. Please ensure that “Pass execution context as first parameter”is checked otherwise it will not work.
Step 5 Publish Customizations
Don’t forget to publish the customizations. You can find publish button on form editor or in solution explorer.
Now you will find that auto save now gets prevented for respective forms. If you have requirement to prevent auto save on save and close (e.g. navigating back \ browser back) then you can handle that as well in JavaScript with slight changes to prevent Save and Close.
function preventAutoSave(econtext) {
var eventArgs = econtext.getEventArgs();
if (eventArgs.getSaveMode() == 70 || eventArgs.getSaveMode() == 2)
{
eventArgs.preventDefault();
}
}
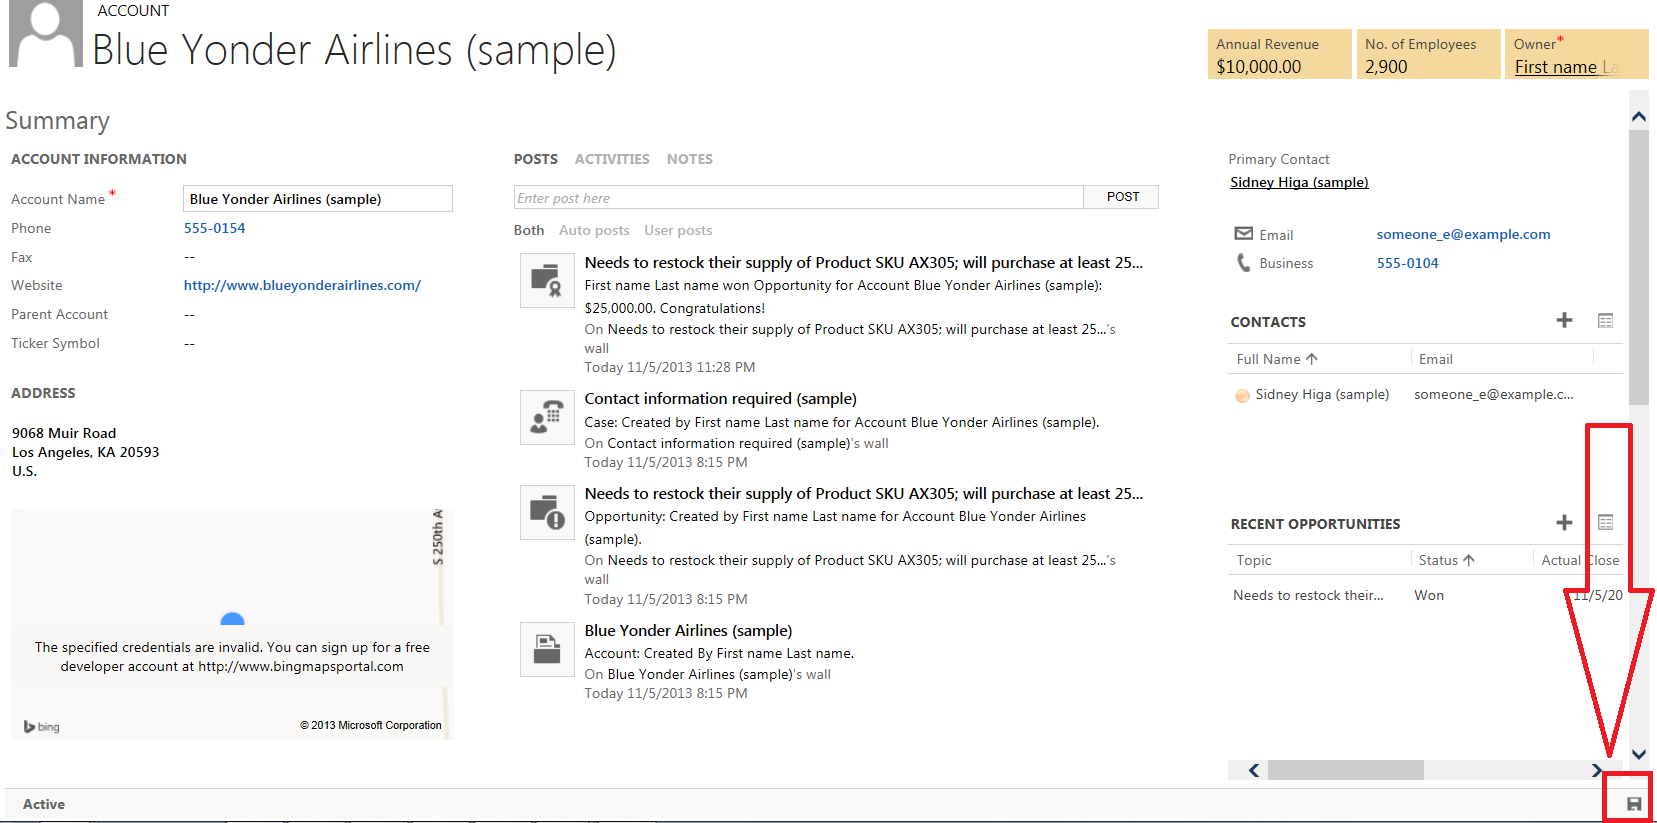
Please note that save button will not show in the command bar if the auto save setting is turned on at the organization level. The save button will only show when the auto save setting is turned off. If you apply the approach described above to prevent auto save on background saves and or when people navigate away from the form, people have to explicitly save the record using the save button at the bottom of the form (Image below) or use the keyboard shortcut (Ctrl + S.)
Hope this clarifies how to manage auto save for individual form of entities.


