- Home
- Security, Compliance, and Identity
- Microsoft Entra Blog
- Enhancing Azure MFA with Contextual IP Address Whitelisting
- Subscribe to RSS Feed
- Mark as New
- Mark as Read
- Bookmark
- Subscribe
- Printer Friendly Page
- Report Inappropriate Content
Howdy folks,
Lots of cool stuff to blog about this week. Today I'd like to share the news that we've just turned on the public preview of our IP Whitelist functionality for Azure Multi-Factor Authentication (MFA).
As customers have started deploying Azure MFA, we have heard that requiring MFA for every single login can be an inconvenience for your users and that you would prefer to require it only in sensitive situations. IP Whitelist is first step to build out rich context based authentication capabilities in Azure AD that meet this need.
IP Whitelist allows administrators to add an extra level of security and convenience by only requiring users to perform MFA when accessing resources from outside their corporate network. This can be done two ways:
- Whitelisting a range of IP addresses: Both managed and federated customers have the ability to whitelist a range of IP addresses for MFA in the admin portal.
- Configuring claim rules in AD FS: Federated customers can configure the client access policy claims in AD FS to require MFA for extranet requests.
This feature is available as part of the Azure AD Premium, Enterprise Mobility Suite and our Azure Multi-Factor Authentication offering.
To help you get started with this feature, I will walk you through the set up experience:
Enabling IP Whitelist
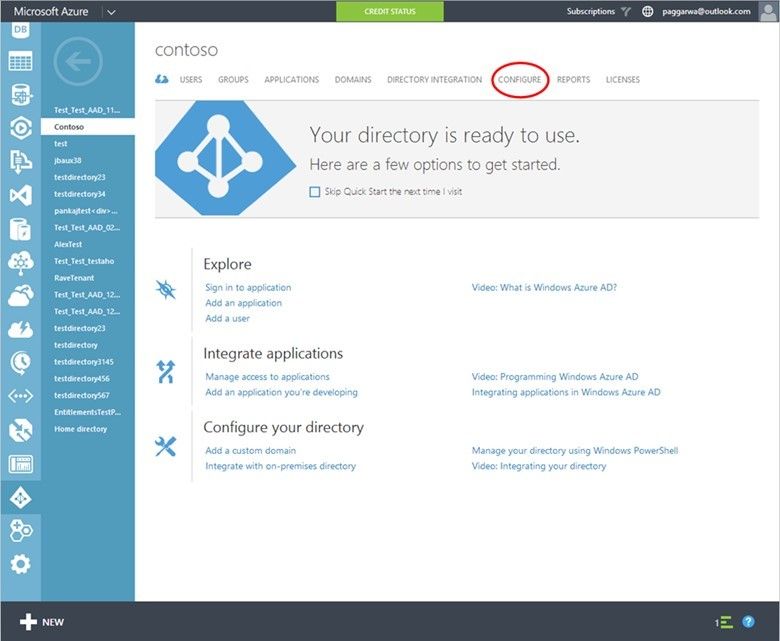
To enable IP whitelist for a directory, you will need to sign in to the Azure Portal as an Administrator and select the Active Directory that you'd like to enable IP Whitelist for. On the directory you have selected, click the configure tab.
Under the multi-factor authentication section, click on the Manage service settings link to access the multi-factor authentication settings.

On the multi-factor authentication service settings tab, you will see the new ip whitelist settings below the app passwords settings.

To enable IP whitelist, you will have to enter the specific range of public IPs in the text boxes. The IP addresses follow the CIDR notation. For example: xxx.xxx.xxx.0/24 for IP addresses in the range xxx.xxx.xxx.1 – xxx.xxx.xxx.254, or xxx.xxx.xxx.xxx/32 for a single IP address. You can add up to 12 address ranges.

Once you have added the IP ranges you want to whitelist, click on the save button. It will show an "Updates successful" message when the changes are successfully saved.

Once you complete this step, your business is all set to benefit from IP Whitelist now. Users will be prompted for 2FA on their phones for all authentication requests originating from outside the whitelisted IP ranges.
In the walkthrough till now, you have seen how to enable IP Whitelist using a specific range of public IPs. If you use federation with AD FS, you can benefit from this functionality by clicking on the For requests from federated users originating from my intranet checkbox.

Depending on the version of AD FS you have deployed, you may have to perform some additional configuration steps to ensure that the appropriate claim is propagated by AD FS. Please refer to the links below for further information:
We hope the IP Whitelist functionality is useful for your organization and helps you add a higher level of security using Azure Multi-Factor Authentication for your extranet users - while not causing inconveniencing users within your corporate network.
If you have any feedback on the IP Whitelist functionality or have other Multi-Factor Authentication scenarios that you would like to see, tell us about them by posting in our forum on TechNet.
Best Regards
Alex Simons (Twitter: Alex_A_Simons )
Director of PM
Active Directory Team
You must be a registered user to add a comment. If you've already registered, sign in. Otherwise, register and sign in.