9 tips to maximize your screen real estate on the schedule board
The schedule board is the primary work space for dispatchers, and every pixel of real estate is essential for maximum productivity. Depending on your monitor, opening the schedule board may initially only let you see a handful of resources and a few unscheduled requirements, and that’s before expanding the filter panel or the details panel!
Enjoy these tips on making the most out of your schedule board screen real estate!
As you take a look at the before and after screenshots, notice the count of resources and number of days that are displayed.
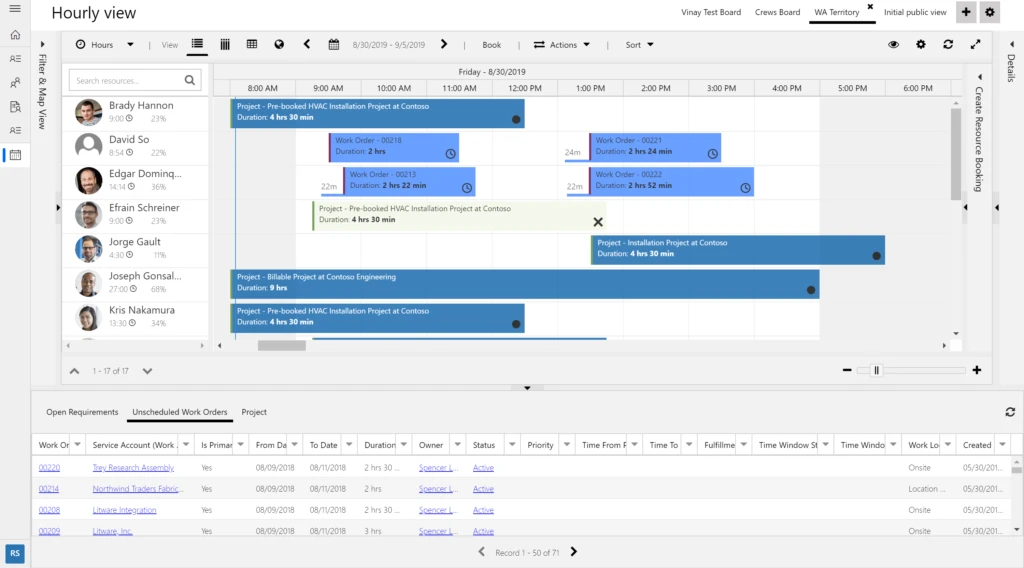
Tip 1: Hide the menu panel
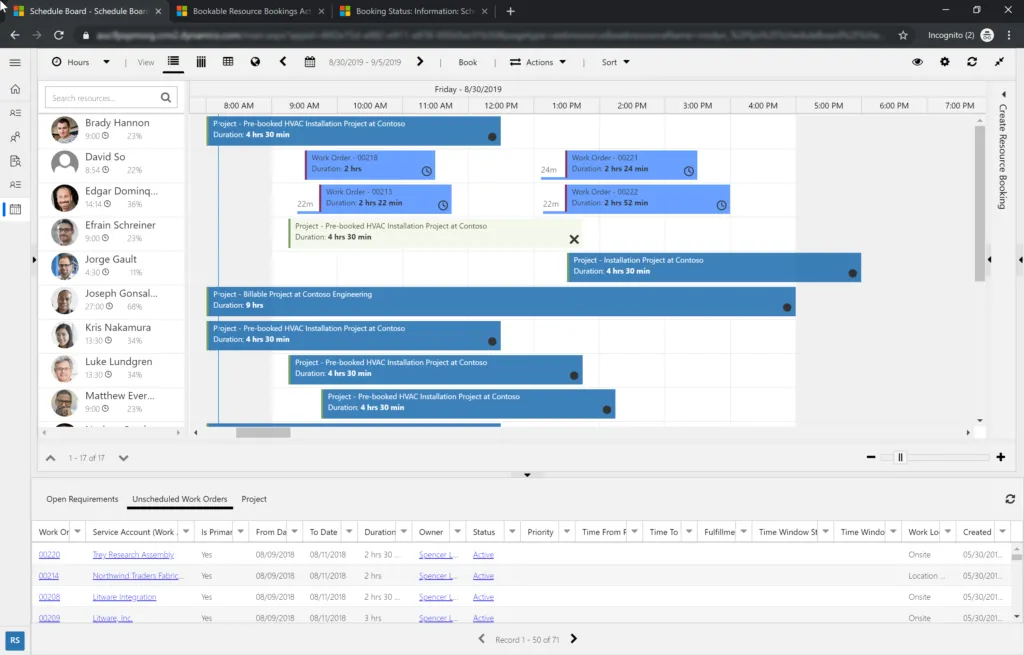
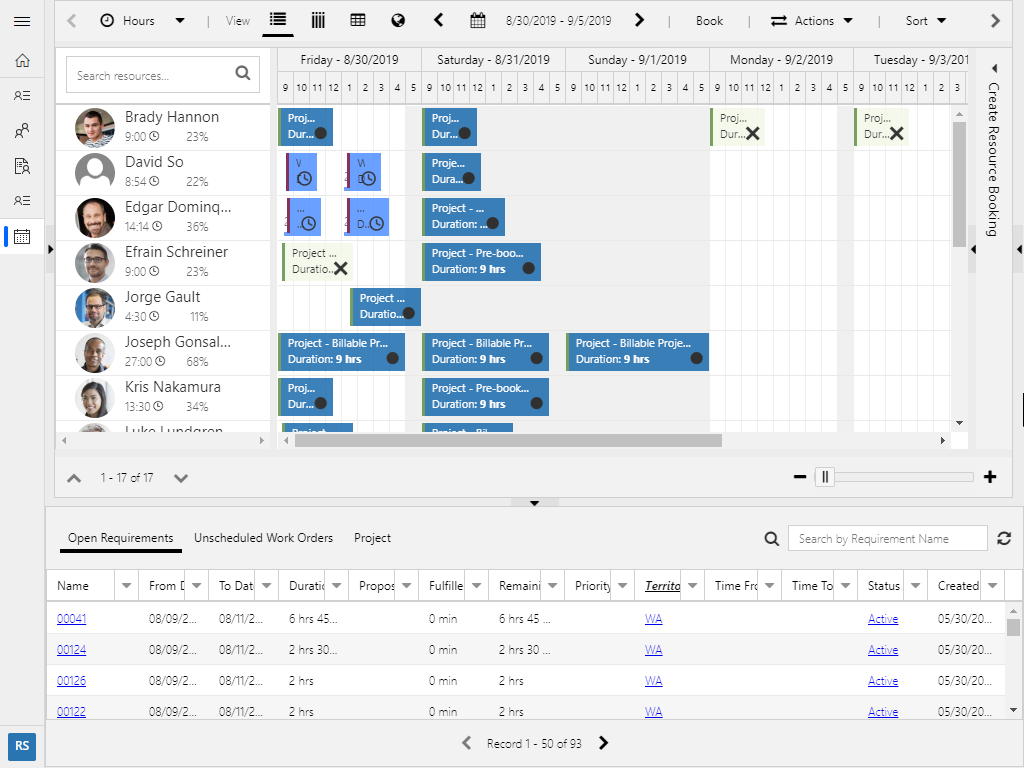
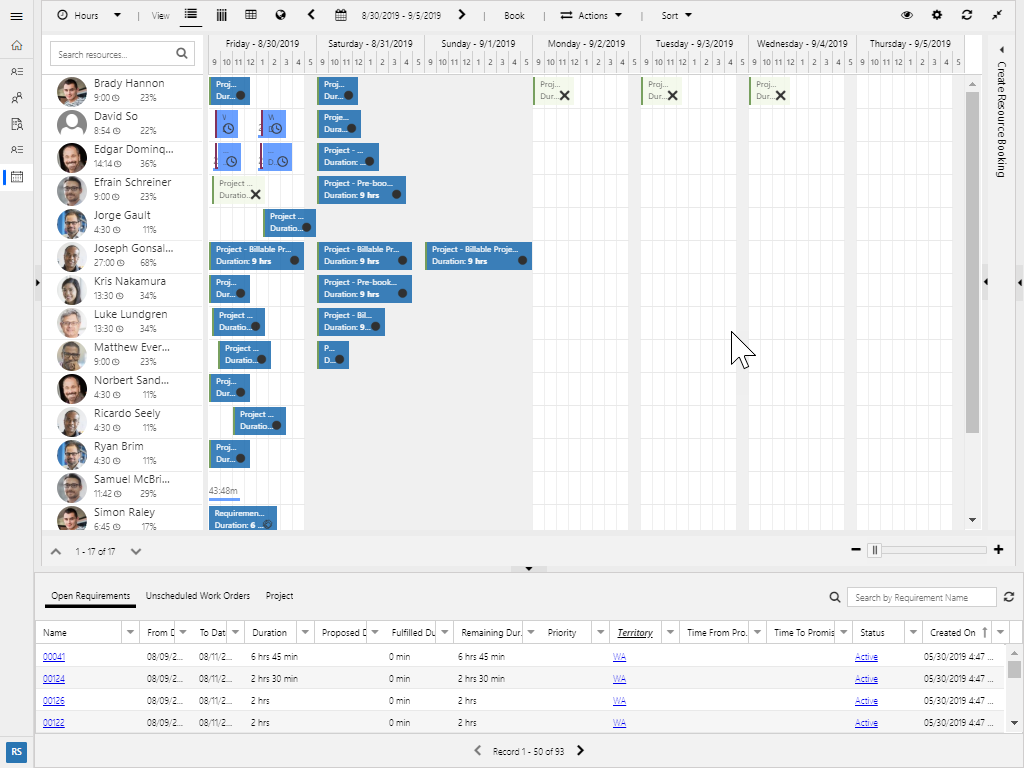
Here’s the schedule board before hiding the menu panel:
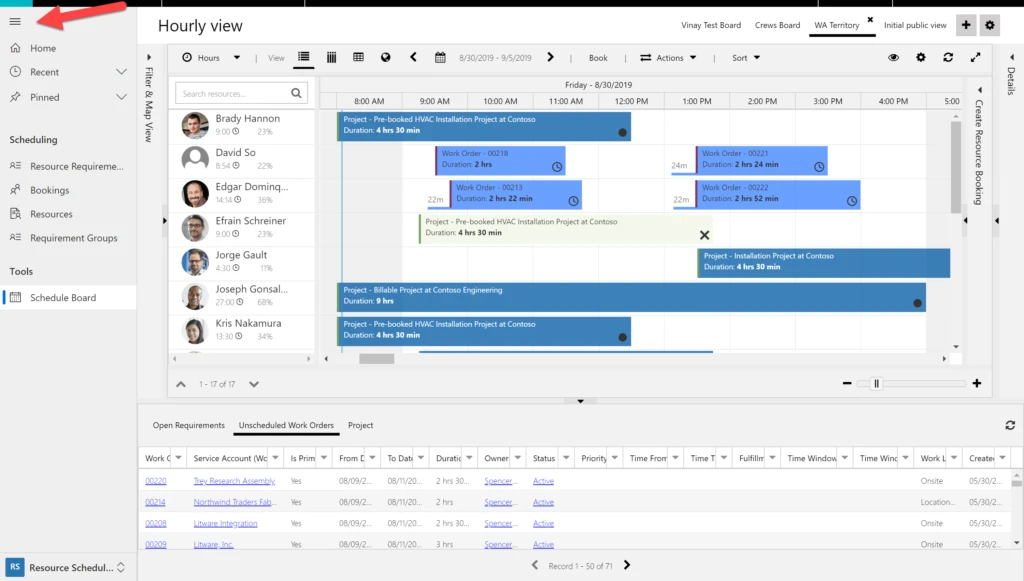
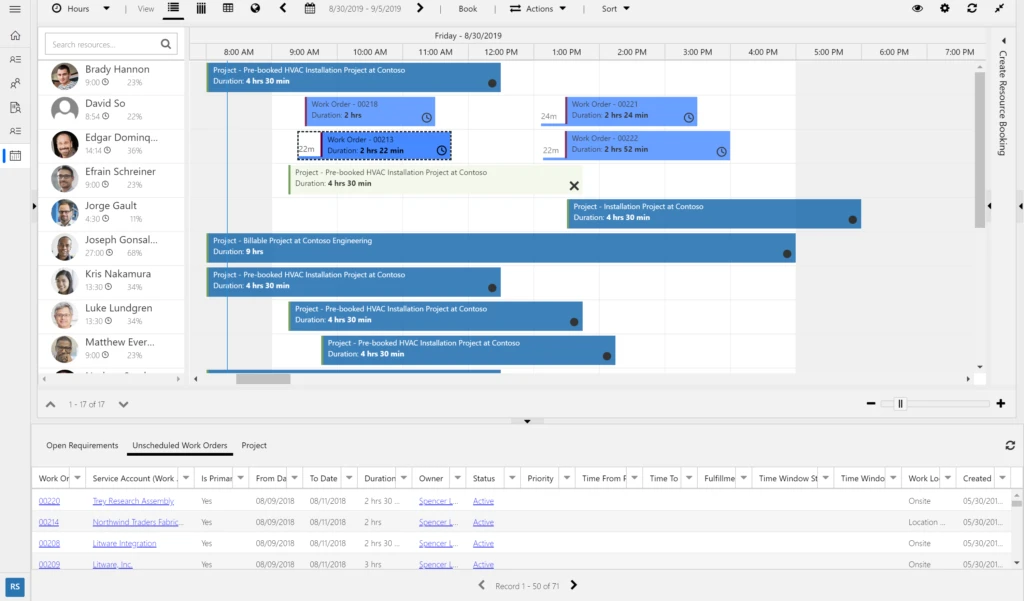
And here’s the after:
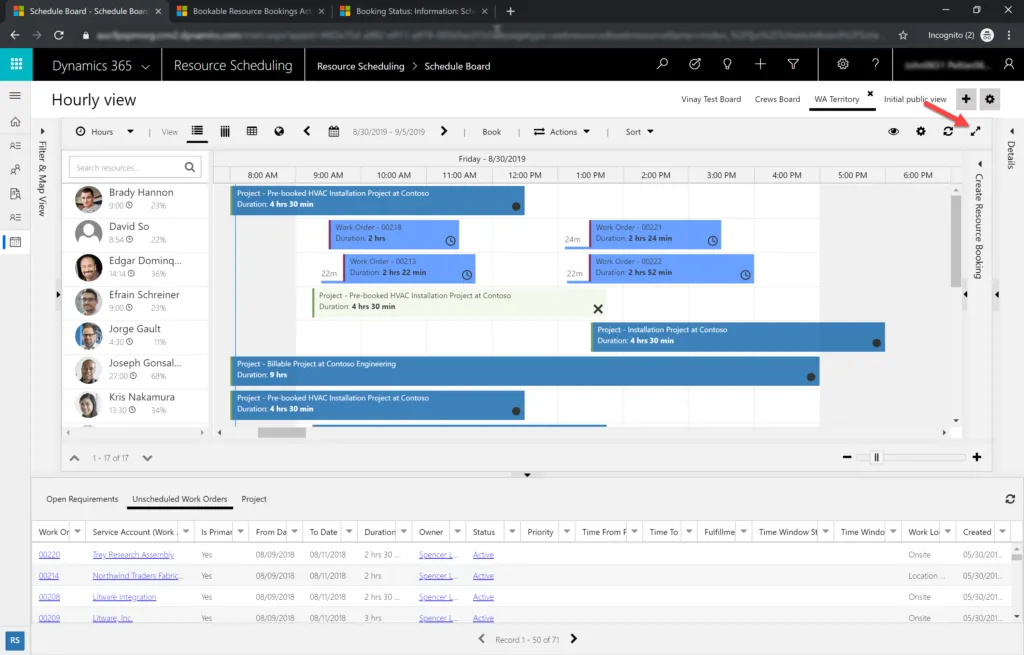
Tip 2: Use the “Expand” control
On the top right of the schedule board, there’s an “Expand” control. Use this to maximize the space! It hides the padding with the schedule board names as well as the Dynamics 365 toolbar. If you need to use either of these areas, just click the button again to show those areas.
Before expanding:
After expanding you will see two additional resources and an extra hour:

Tip 3: Change your browser setting
Change your browser settings to only display your browser toolbars when you hover. Here is what the board looks like on Chrome out of the box – note the amount of real estate taken by the browser toolbar:
After using the F11 key (the keyboard shortcut for Chrome), the browser’s top toolbar is hidden. You can easily get it back by hovering over the top of your browser. This will either show it again or show an “X” which lets you display the toolbar, depending on the browser version. Additionally, the Windows system tray is hidden, but you can easily access this by pressing Alt+Tab. It’s only visible when the mouse hovers towards the top of the browser. Now, two additional resources are visible:

Tip 4: Collapse your schedule board panels
When you’re not using them, collapse panels! Here’s before the panels are collapsed:
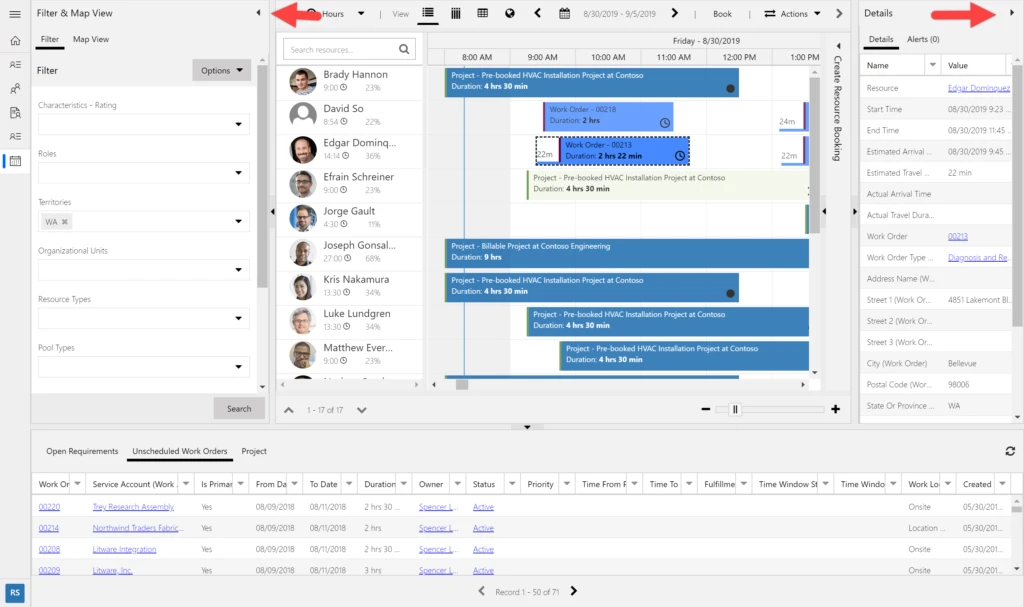
And here’s after:
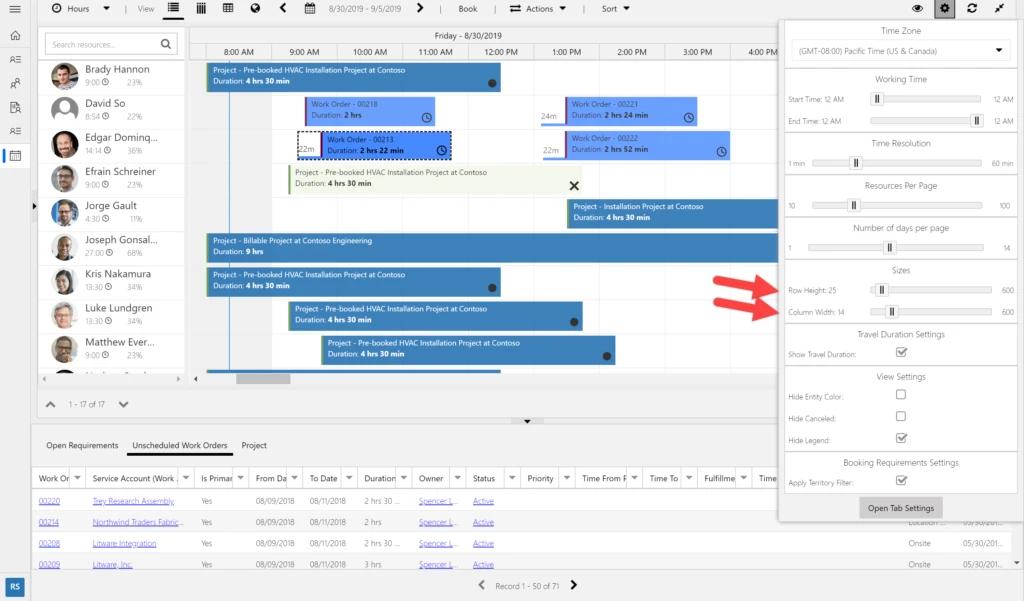
Tip 5: Change resource row heights and widths
If you want to see more resources or more days/bookings, use the pixel sliders to change the height of the resource rows or the width of the columns. This will affect other users using that same board if you have rights to save these changes. Changing the width and height will shrink the visibility of the booking information in the templates, so it is a tradeoff, but if you don’t frequently use the booking template, you can always hover over the bookings to see more information.
Before:
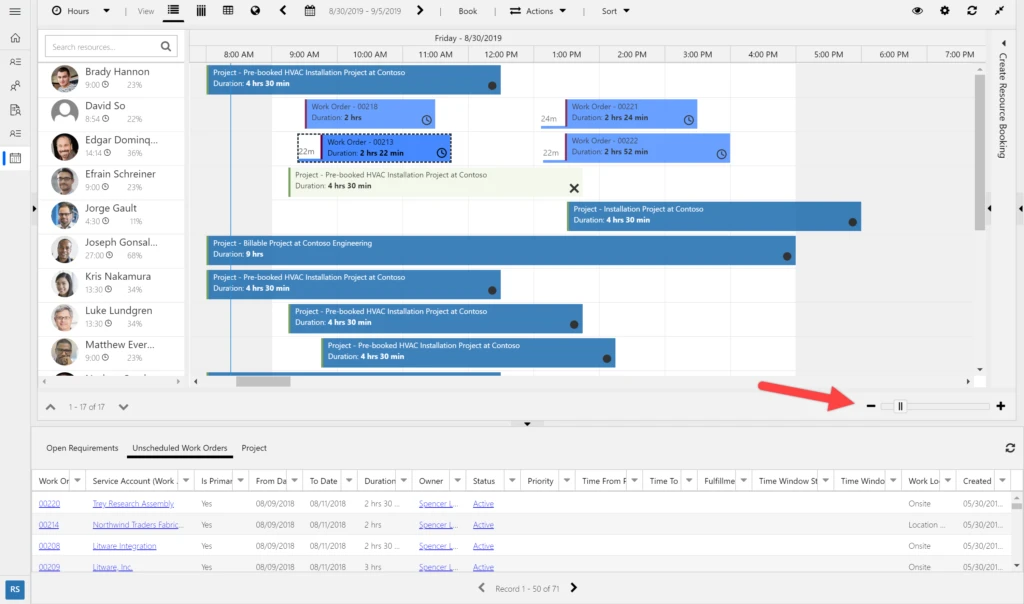
And after:
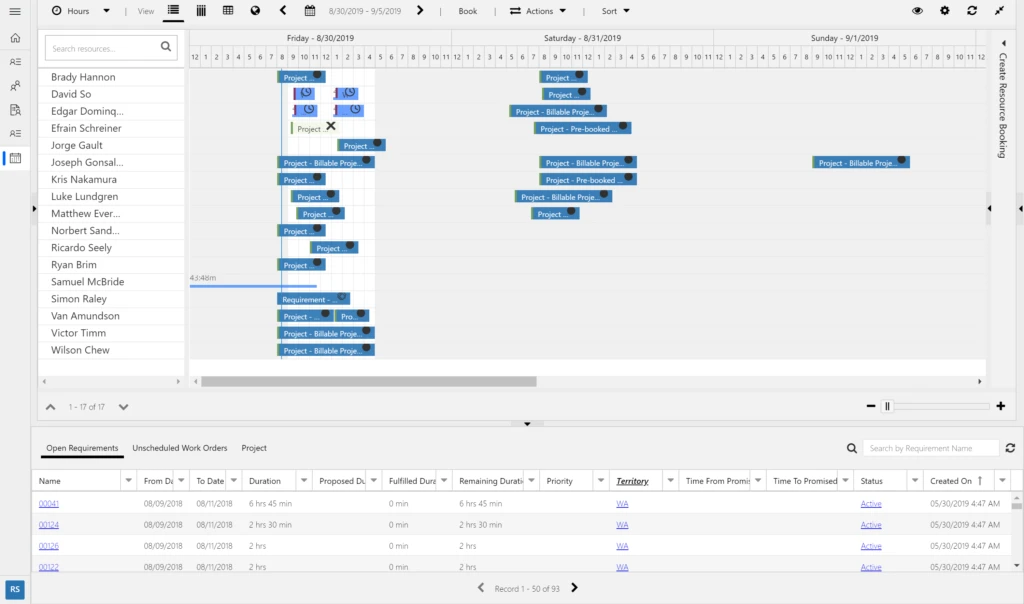
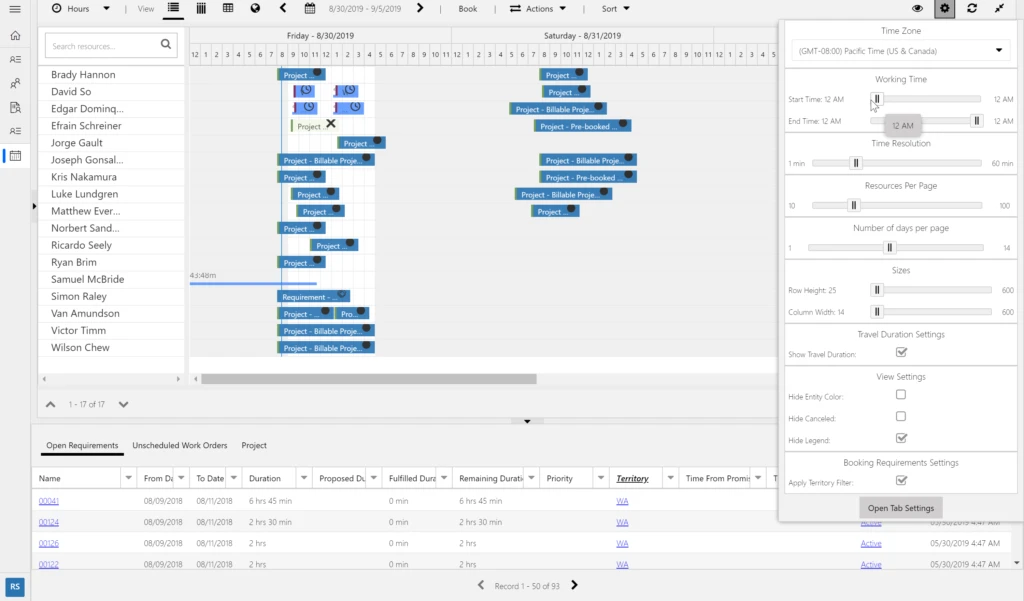
Tip 6: Hide other working hours
If you have resources on your board that work, let’s say from 9 AM to 6 PM, hide the other working hours to see more bookings and more days at once without scrolling. Here’s before:
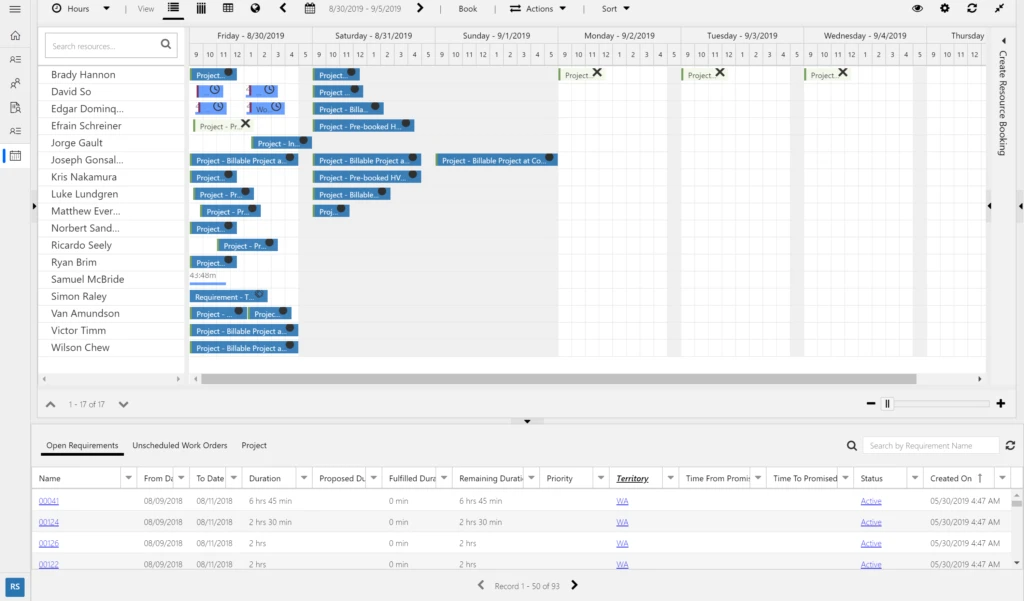
And now, you can see seven days at once without scrolling instead of just three days:
Tip 7: Use a high resolution monitor
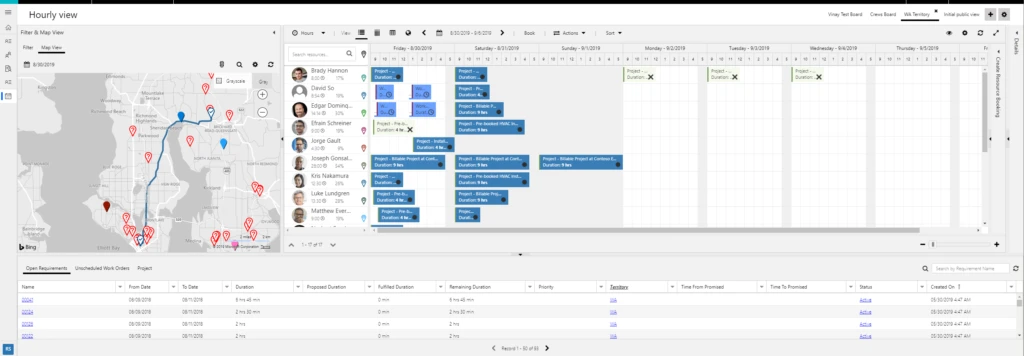
A large, high resolution monitor will help tremendously with screen real estate. Here is the schedule board on a monitor with the resolution of 1024 pixels x 768 pixels:
And here is a monitor with the resolution 3000 pixels x 2000 pixels, showing two extra days and six extra resources:

Tip 8: Configure browser zoom levels
Browser zoom levels can help as well! Here you can see what appears on the schedule board when changing the browser zoom level from 100% to 75% on the same resolution:
Tip 9: Add another monitor
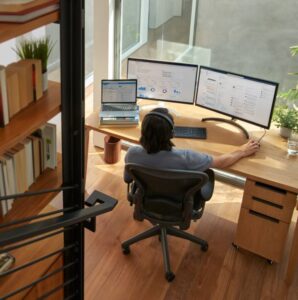
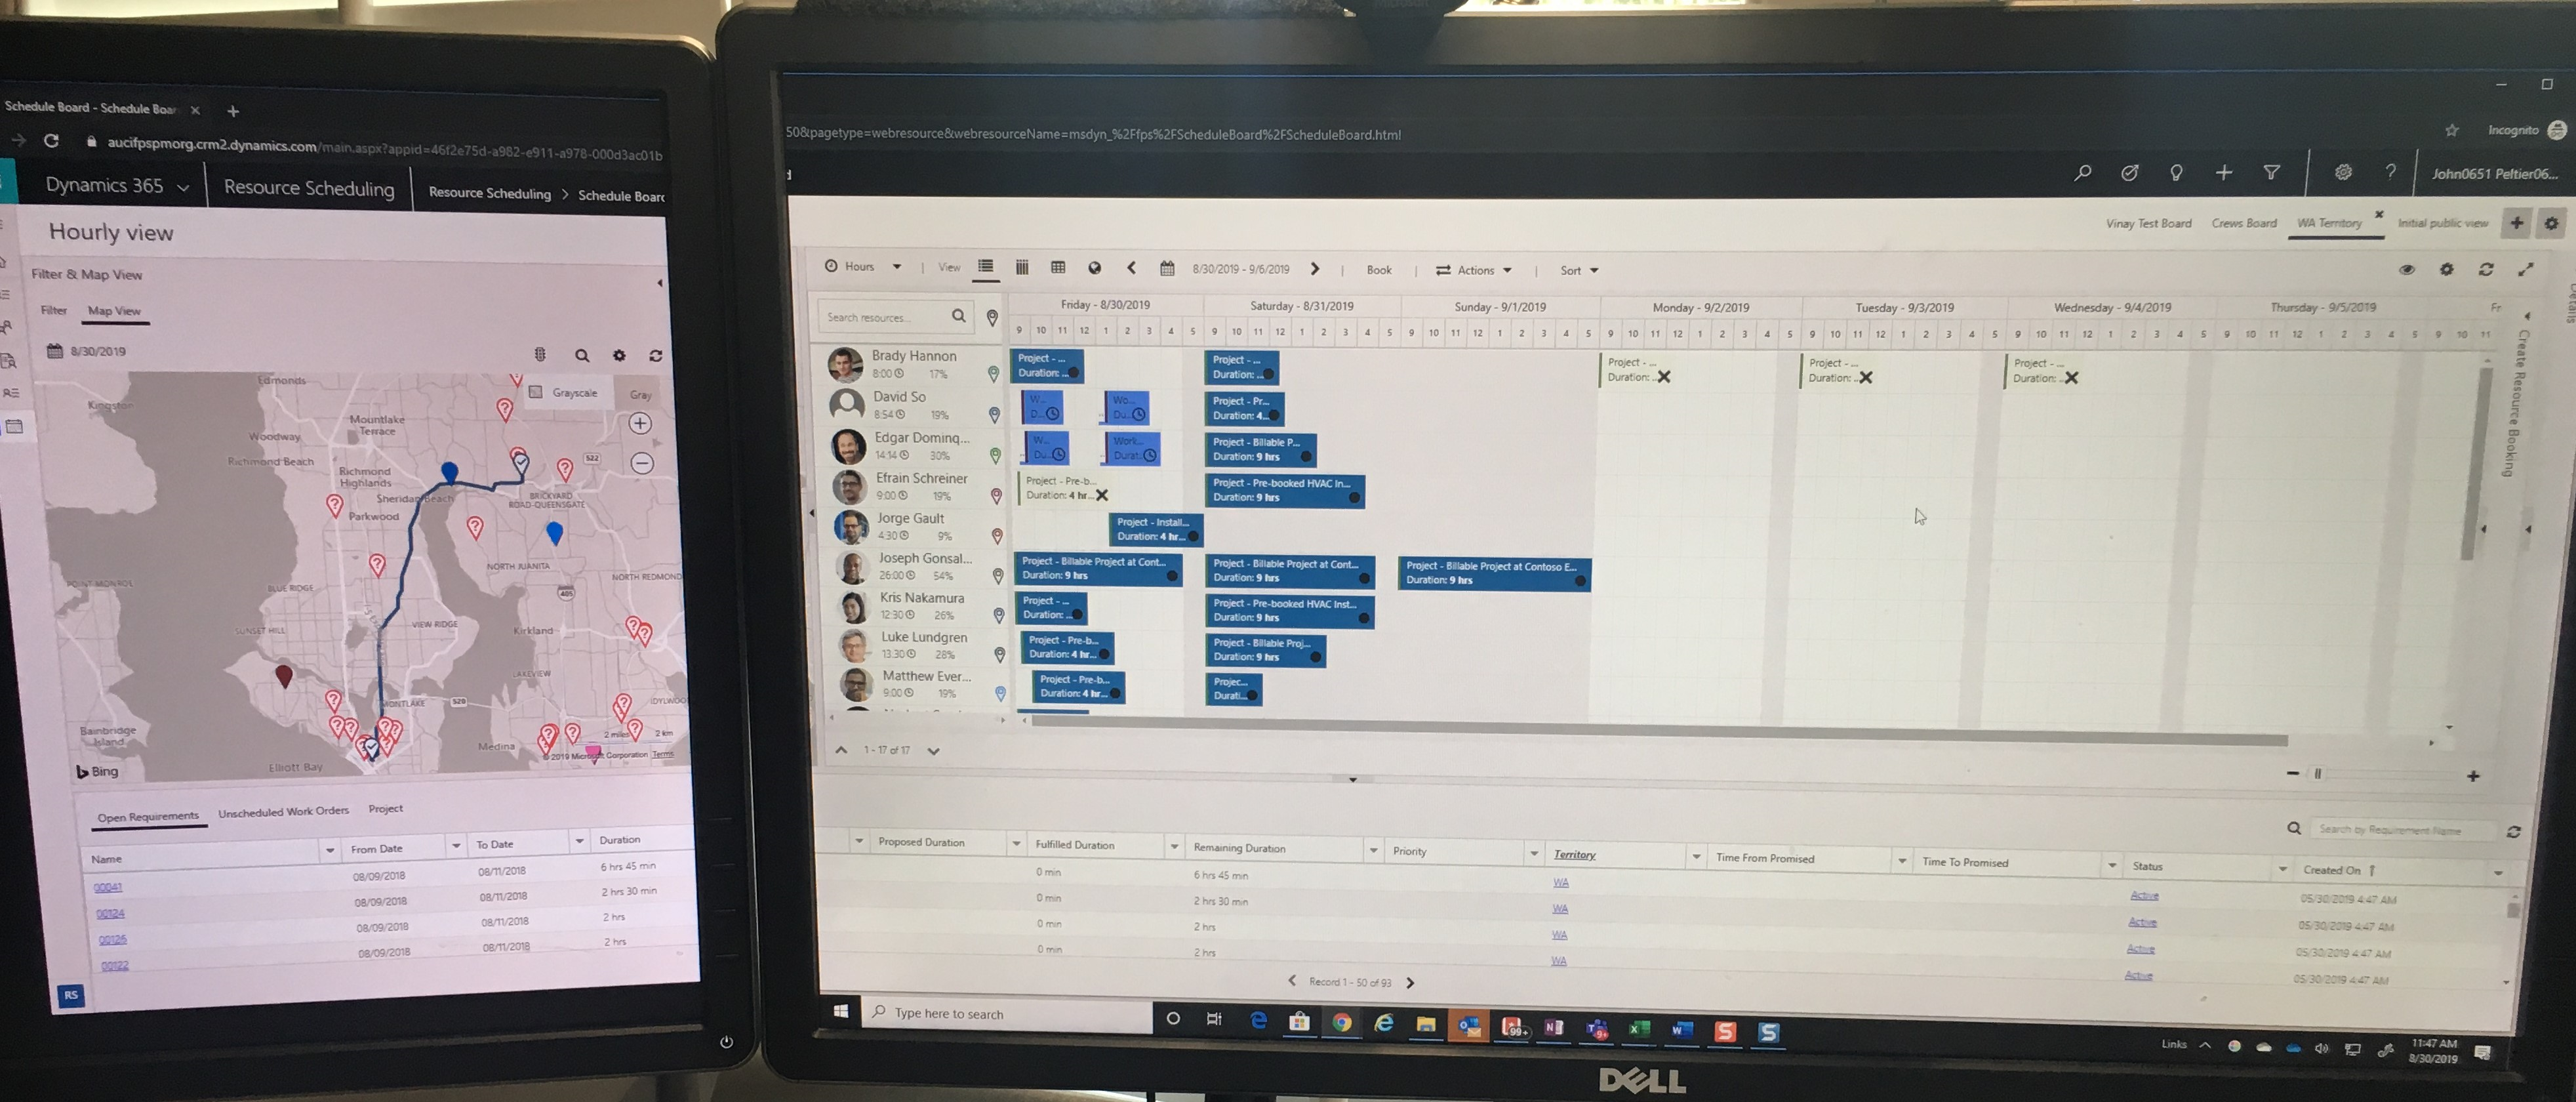
Do you frequently use the map, filter, or details panel? Get multiple monitors! When you open your schedule board for the day, maximize the browser, and then extend either panel onto your other monitor.
Take a look at what you can do with this two-monitor setup. You can even drag pins from the map on one screen to the other! Thanks for the tip, Boris Klimovitsky!
Note: The screenshot does not show the monitor break.
Here is a picture of what it looks like on two monitors:
Happy scheduling!
Dan Gittler, Principal Program Manager