Build on the System Application in Dynamics 365 Business Central using Docker
As Jesper described in his post about our componentization project, in the Business Central 2019 release wave 2 we’re splitting Business Central into two major chunks that collect and separate the under-the-hood, platform-like functions from the business logic. These are the System Application and the Base Application, respectively. In addition to simplifying the code, one of the primary benefits of this approach is to move away from the code customization model and make it easier to build vertical, or horizontal, solutions. In this article I’ll explain how to build an app on top of the System Application.
Note: The code that contains the new components is not yet publicly available. To get access you’ll need to join the ReadyToGo program so that you can use Microsoft Collaborate and our insider builds.
Start by pulling the latest image (this walkthrough is based on build 15.0.34197):
docker pull bcprivate.azurecr.io/bcsandbox-master:base-ltsc2019
After that, you need to create a Docker container. You can use your favorite PowerShell script, just remember to add the useCleanDatabase parameter. There are several ways to do this, and if you’re interested you can find more information in this post. For the sake of this discussion, however, here’s how I do it:
$credential = New-Object System.Management.Automation.PSCredential -argumentList "admin", (ConvertTo-SecureString -String "P@ssword1" -AsPlainText -Force)
$imageName = "bcprivate.azurecr.io/bcsandbox-master:base-ltsc2019"
$licensePath = "C:\..\l.flf" #put actual path to your license
$containerName = "BC"

New-BCContainer -accept_eula `
               -updateHosts `
               -containerName $containerName `
               -auth NavUserPassword -Credential $credential `
               -imageName $imageName `
               -licenseFile $licensePath `
               -doNotExportObjectsToText `
               -includeAL `
               -useCleanDatabase `
               -memoryLimit 16g `
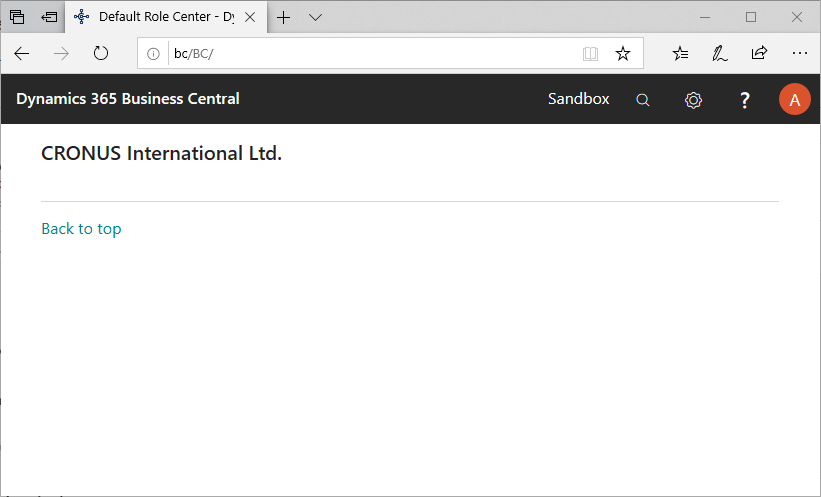
The container will start as a process and the output of the function will display in the PowerShell output window. Among other parameters you can find the URL for the web client. When you open it in a browser the Default Role Center should display.
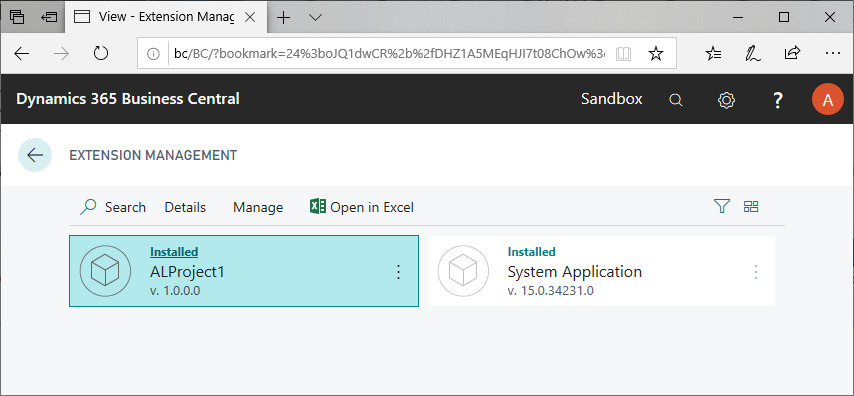
Search for extension management, and then verify that your deployment contains “System Application” only.
Let’s open VS Code and build something on top of the System Application that adds features to our Default Role Center.
Note: Make sure that you have the latest version of the AL extension for VS Code. The PowerShell output window contains the link to the .vsix file, so you can download it from the container.
In VS Code, run the AL:Go! command to create a new AL Project, and then choose 4.0 as the Target Platform.
Note: The project folder should be in a location that is shared with the container. For example, a folder in C:\ProgramData\NavContainerHelper will work.
When your project is created, follow these steps:
- Update the Server and Server Instance parameters in the json with the values from the PowerShell output.
- Remove the dependency on BaseApp from the json.
- Download symbols.
At this point you should have two app packages: Microsoft_System_15.0.<build>.0.app and Microsoft_System Application_15.0.<build>.0.app, as shown in the following image.

Now you are ready to code. Let’s extend the Default Role Center by adding a language action.
pageextension 50101 "Test" extends "Default Role Center"
{
   actions
   {
       addfirst(Processing)
       {
           action("Languages")
           {
               ApplicationArea = All;
               RunObject = page Languages;
           }
       }
   }
}
When you’re done with development, compile and publish your extension. The following image shows examples of other, more advanced elements that you can add, such as headlines and groups of actions. The language action we added is included in the SystemPages group.
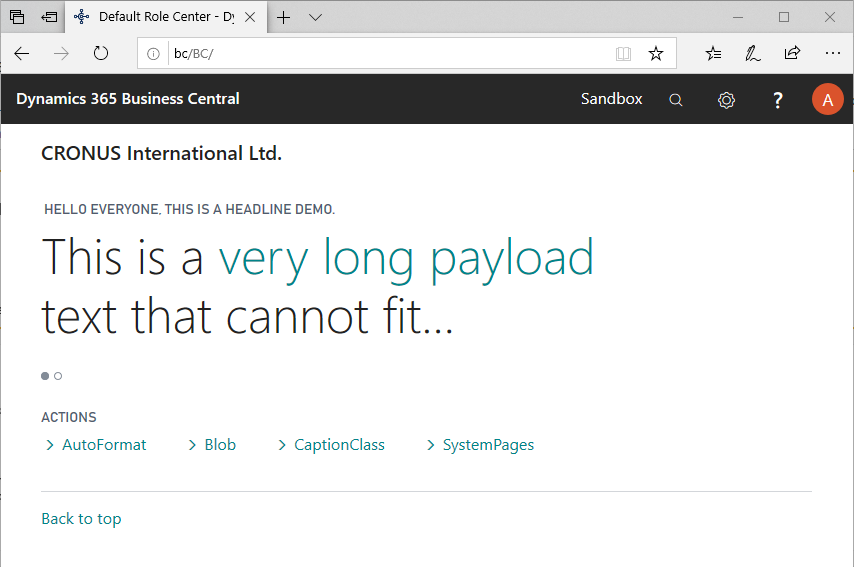
And you can see your app on the Extension Management page.
The System Application is a work in progress, and new modules will be added in the future. If you want to peek at the latest, you can always go to the GitHub repository https://github.com/Microsoft/alappextensions. While you’re there, if you see something you think we’ve missed, you can submit a pull request and we might add it. Additionally, if you think we’ve left out a module, you can submit an idea on https://aka.ms/bcideas.