October 2016 release notes
The Microsoft Dynamics Lifecycle Services team is happy to announce the immediate availability of the October release of Lifecycle Services.
KNOWN ISSUES
In the October release of Lifecycle Services (LCS), we made changes to package applications and deployment flows. As a result of these changes, multiple issues have been reported by the customer and partner community. We appreciate the prompt feedback regarding these issues. Below is a list of the known issues that already have hotfixes released for them.
- If you use Internet Explorer or Edge browser, the Password reveal button does not work. This prevents a customer from remoting into a machine. This issue does not occur if you use a Chrome browser.
- During deployment, the list of packages to select is empty even if you have valid application packages in your Asset library. This creates additional overhead because packages must be applied after deployment.
- When you try to apply a package through LCS on a demo topology, no packages are available in the list.
- Packages that are published to the Shared asset library and assigned a state of Published are also marked as not valid, which is incorrect.
- When a merged deployable package is applied on an environment, the Environment details page does not show the execution details.
NEW FEATURES
Deployable packages (Updated November 3)
An additional feature was added after the October release of Lifecycle Services. Deployable packages that are imported from the Shared asset library, and have a state of Published, can now be marked as Release candidates after they have been applied to a Sandbox environment.
Business Process Modeler (BPM)
The October release of LCS includes performance improvements in the BPM libraries. This includes rendering and navigating the library, and expanding the business process hierarchy.
Configuration and Data Manager
The configuration and data manager tool no longer in beta and is now generally available.
Submit service request to Dynamics Service Engineering team through LCS
Additional types of service requests can now be submitted through LCS instead of Connect. This will help create a complete audit trail of Customer’s requests related to their environment and eventually, what service requests were actually executed by the DSE within LCS itself. There are three request types that can be submitted through the LCS Support Portal:
• Database refresh: Submit a request to refresh the database from for example, Production to Sandbox.
• Point-in-time restore: Submit a request to restore the database to a specific point in time. This is not applicable to a Production database.
• Other request: Submit other requests to the DSE team instead of using Connect.
1. To submit these requests, from your LCS project dashboard, scroll to the right, and under More tools, click the Support tile.
2. Click the Service Requests tab, and then click Add.
3. On the Create request form, select the type of request you want to submit.
Important:
• When you create a request, you must acknowledge each check box in the request for the Submit button to be enabled.
• You can submit Package application requests by clicking Maintain on the Environment details page.
Note: Starting November 15, 2016, only requests submitted through LCS will be acknowledged and acted upon by the DSE.
Updates to the automated package application flow
In the August 2016 release of LCS, we added automated package application flow. This means that a customer or partner can apply a package in their Demo and Sandbox environments through the LCS UI instead of having to remote into the machines and then run through a set of manual steps. For Production environments, a request must be submitted to the DSE team to apply the package. For the automated flows, a package must be uploaded to LCS and the package type must be selected.
Some of the feedback we have received from customers is regarding selecting the package type during upload to the Asset Library. The package type was often unknown leading to the incorrect package type being selected. Also, because only certain types of packages are supported by the automated flows and the package type validation was missing, issues occurred when trying to apply a package that was not supported.
Please use the following updated steps to upload a package.
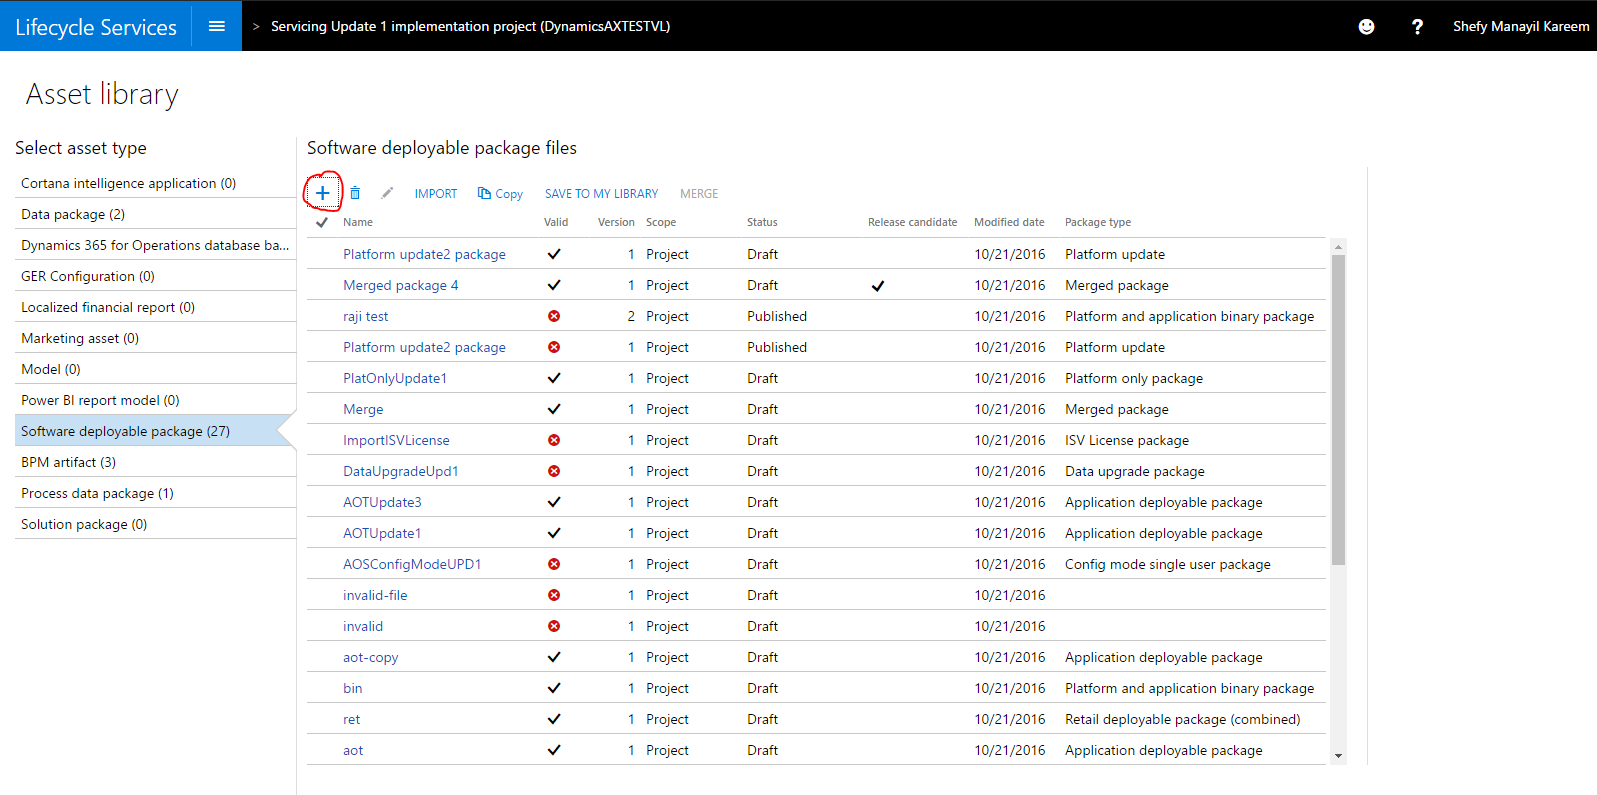
1. In LCS, click the Asset library tile. Select the Software Deployable Packages tab, and then click Add.
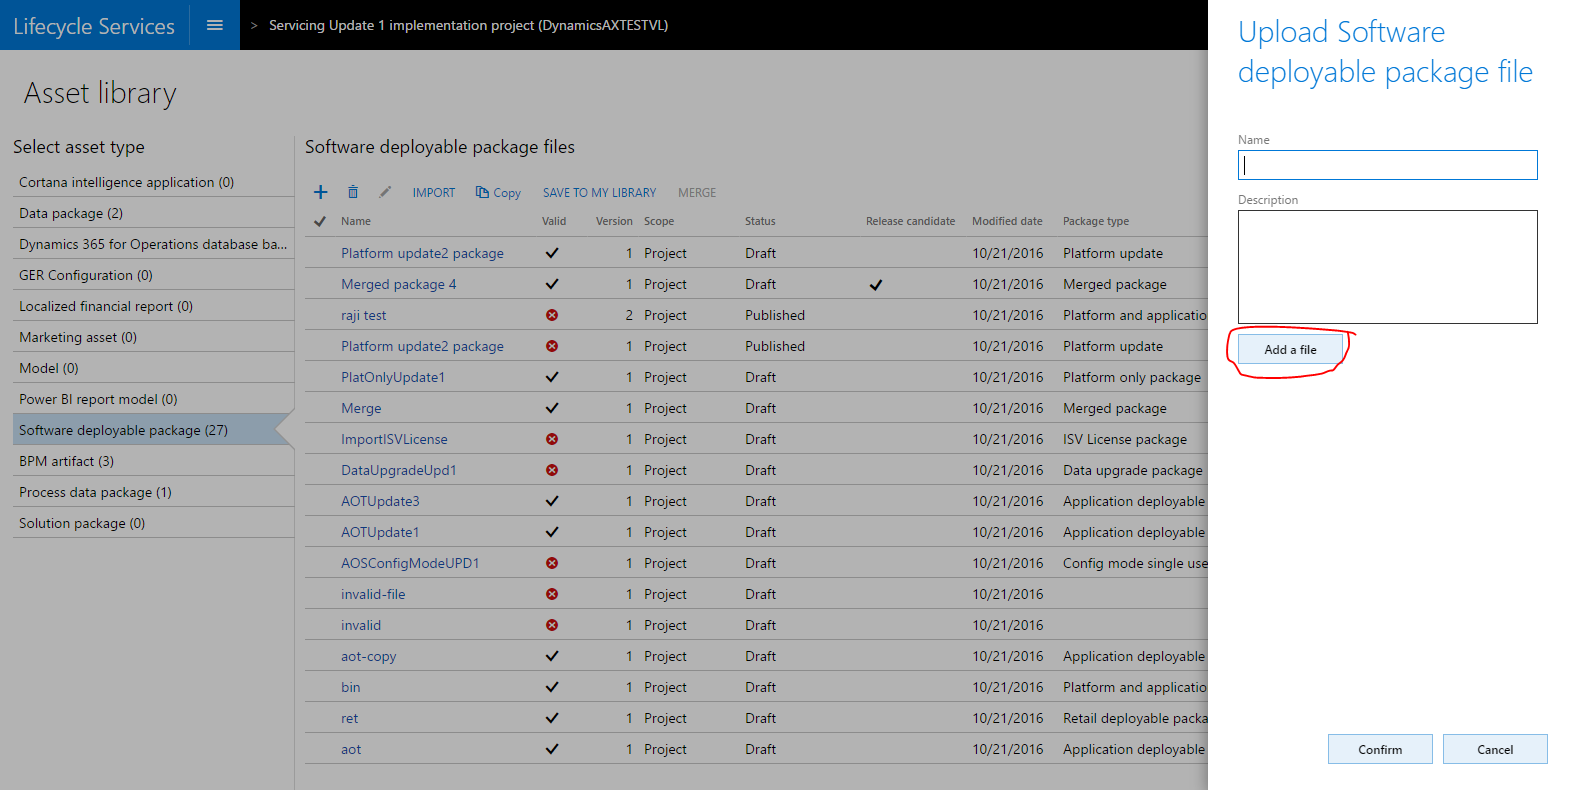
2. In the slider that opens, enter the name and description and then click Add file.
3. Click Browse to find the package, and then click Upload.
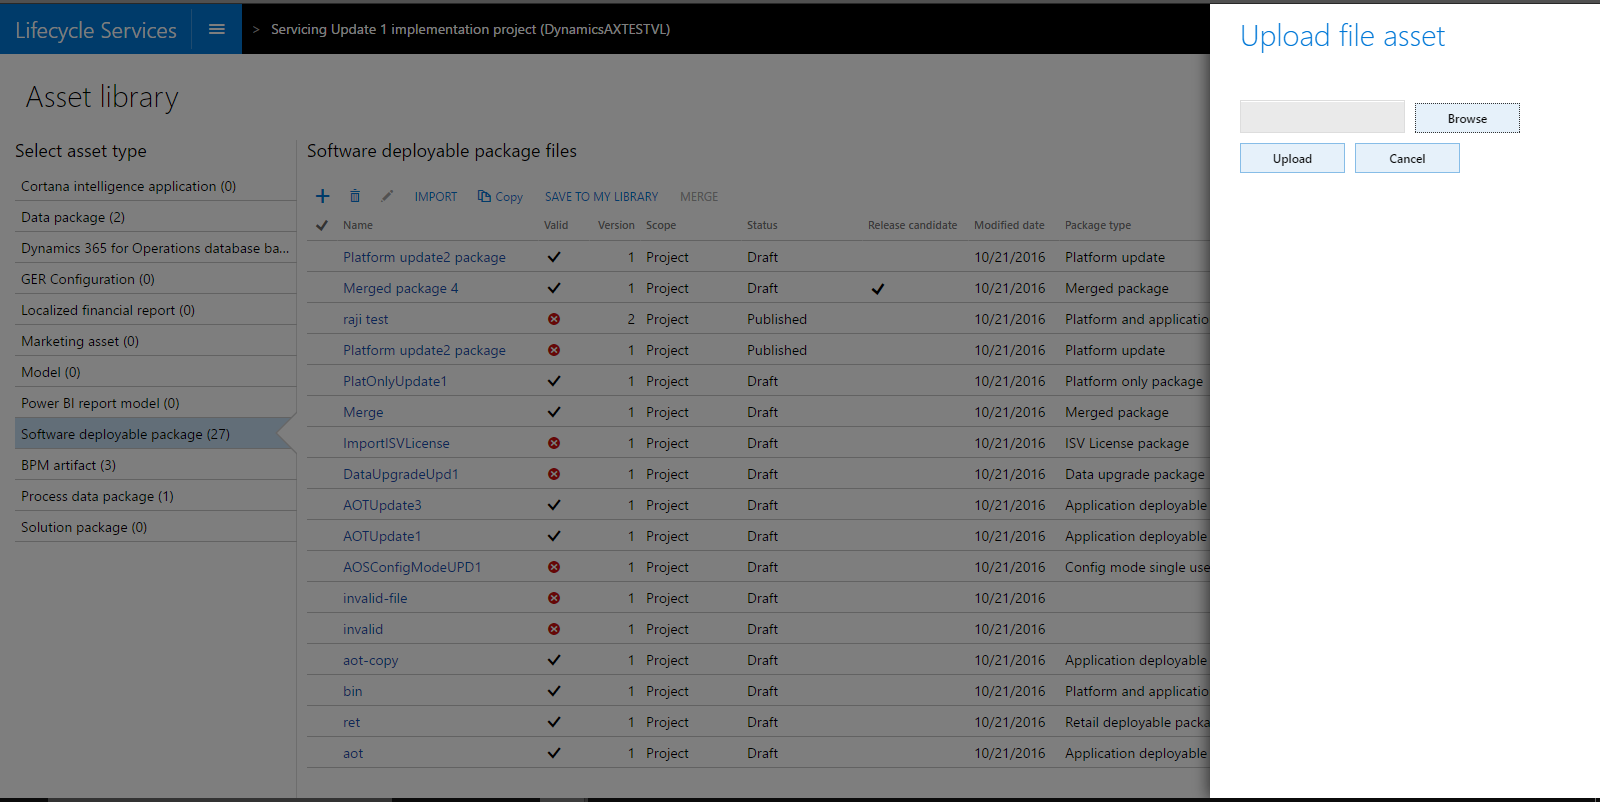
4. Click Confirm.
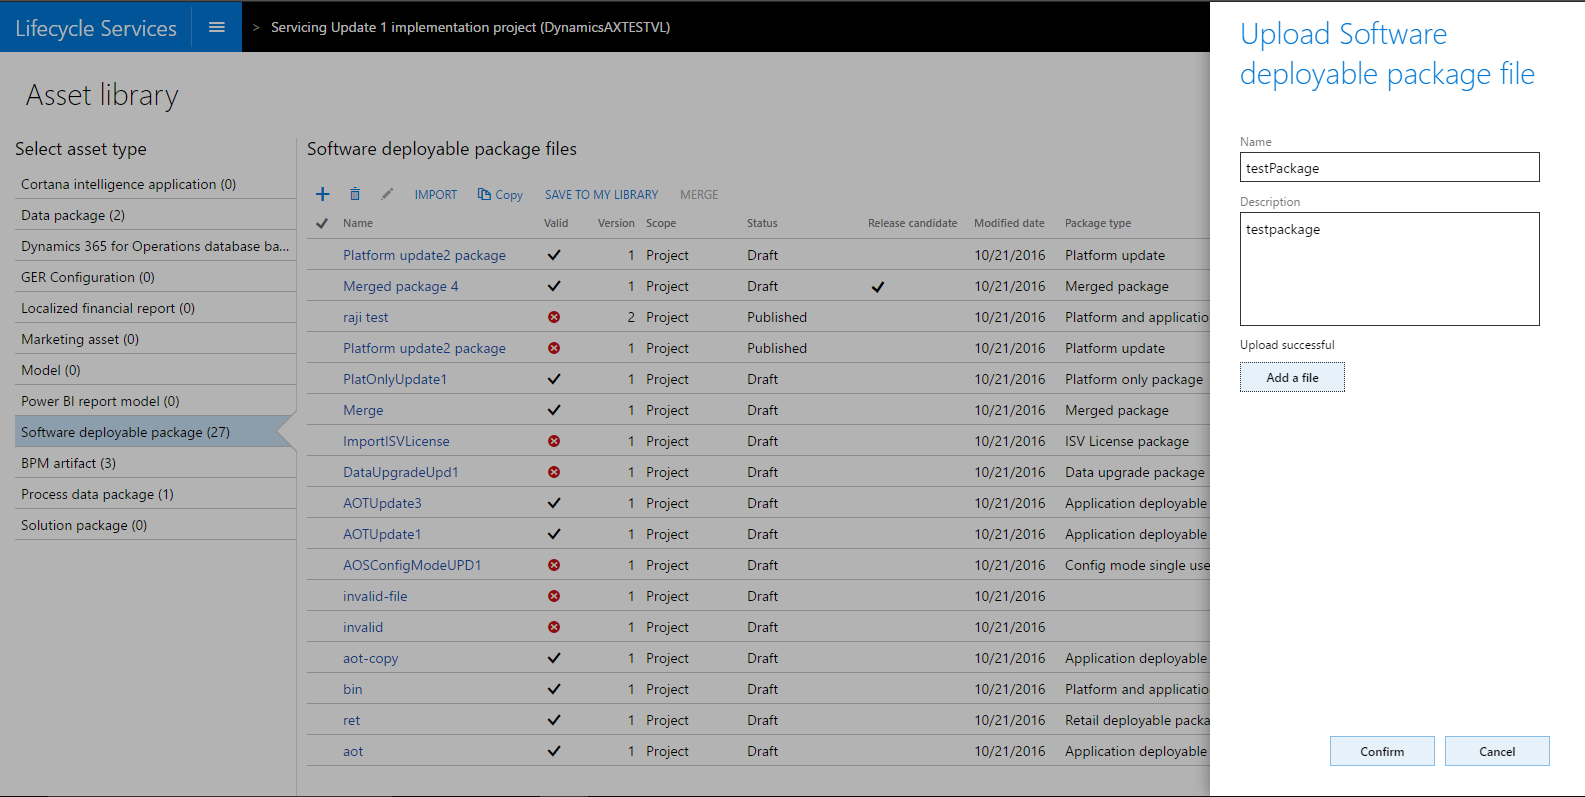
In the Software deployable package files list, you will be able to see that the package is uploaded, but has not yet been validated and the package type has not been determined.
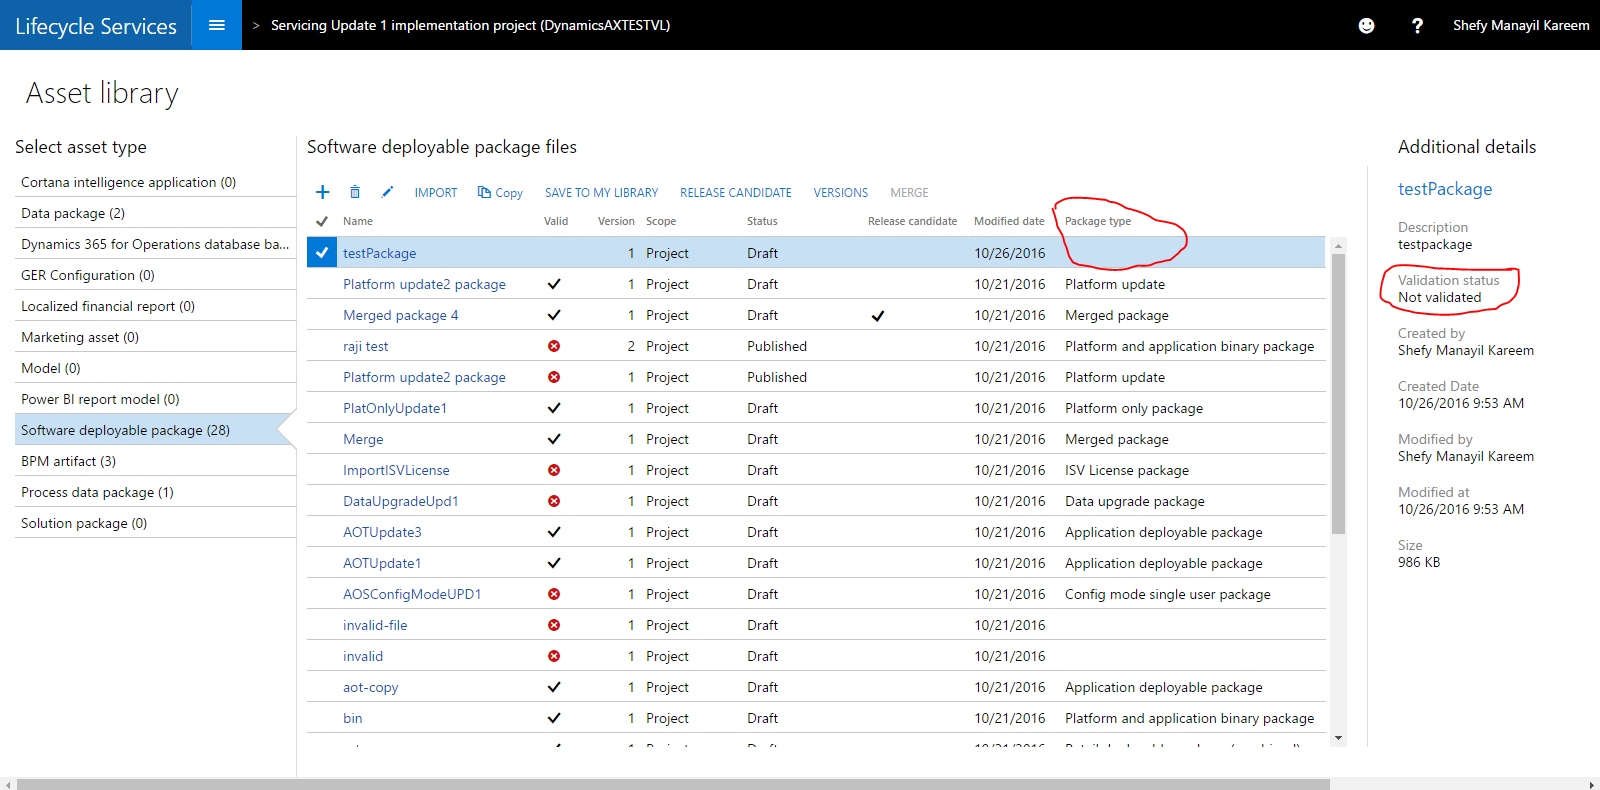
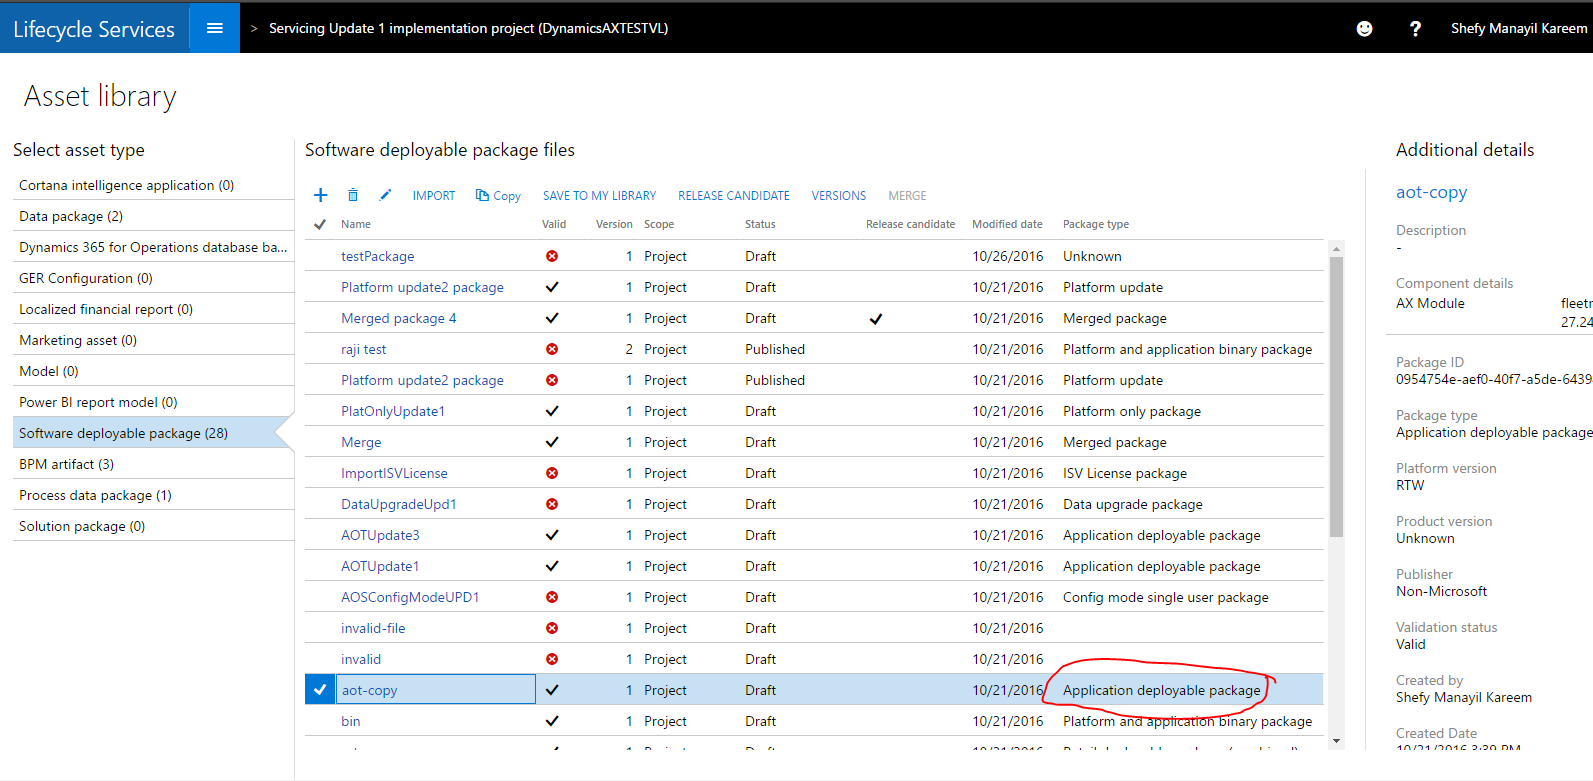
5. After validation is complete, refresh the page to view the updated status for the package.
The following graphic shows what the updated status for a valid package looks like.
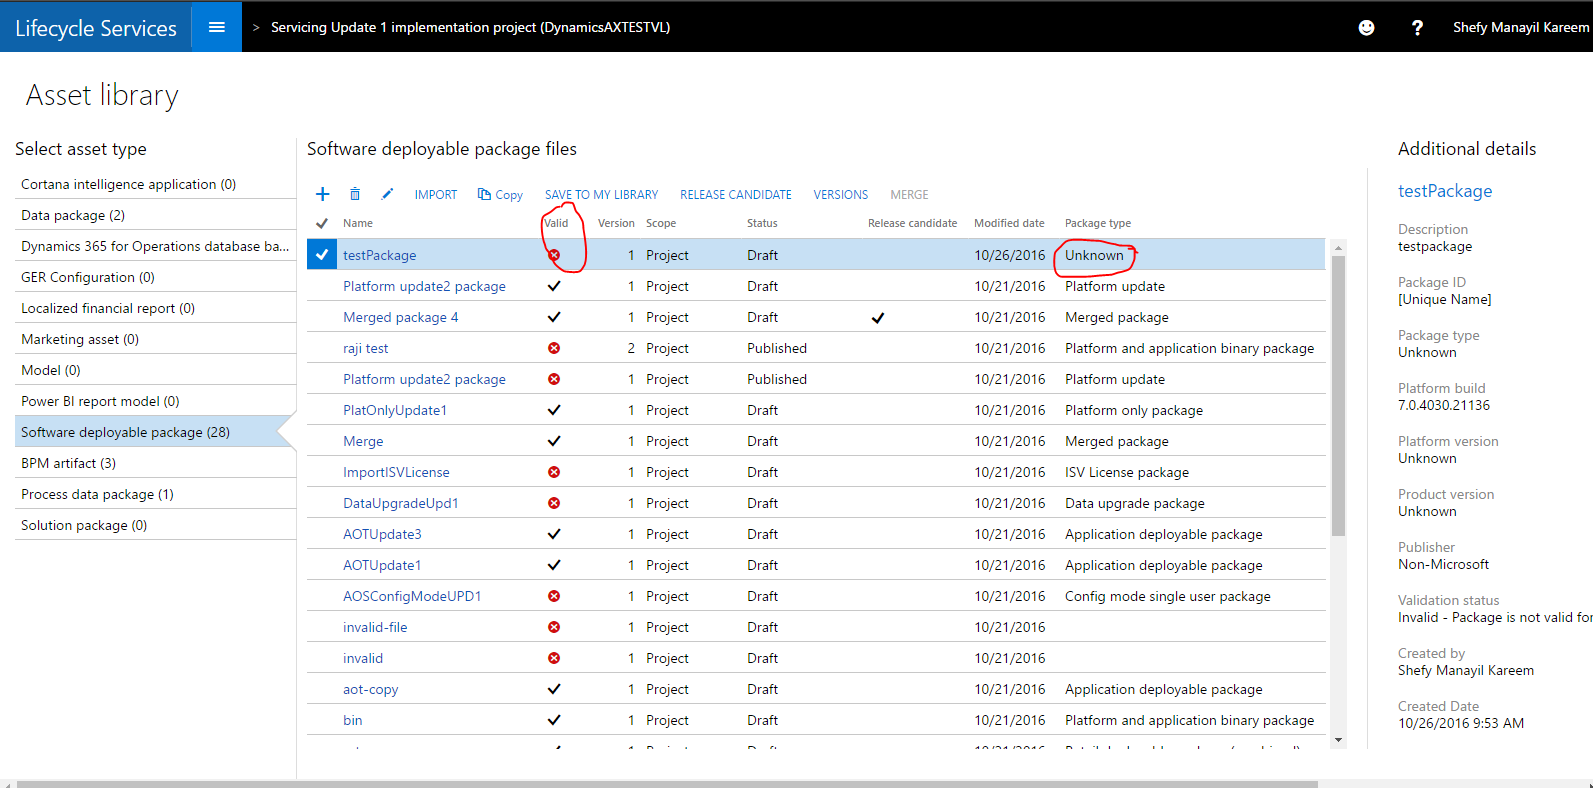
To catch issues earlier, we have added the following package validations:
• The package needs to be in the valid format, which is a zip file.
• The package must have the necessary metadata and the basic deployable package format.
• The package is in a Draft state. If you import the package from the Shared asset library, the package status will be set to Published. Create a copy of the package, which will change the status to Draft, to use in the automated flows.
• The package is one of the following types so that it can be supported for automated flows:
ApplicationPackage
PlatformOnlyPackage
PlatAppBinaryHotfixPackage
RetailCombinedPackage
PlatformUpdatePackage
MergedPackage
PlatformUpdateMergedPackage
Localization and translation
In the October LCS release, you can now experience the new end-to-end automated translation service within LCS. Users can create a translation request, submit a file to translate, and download the translated file. The preview feature in the October LCS release supports Microsoft Dynamics 365 for Operations and Microsoft Dynamics AX 2012 resource files.
Use the following steps to try the service.
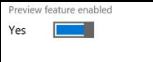
1. On the LCS dashboard, click the Preview feature management tile.
2. Click the Localization and translation tab, and move the Preview feature enabled slider to Yes.
3. Open a project in LCS. Note that the translation service will use the product version information from your project.
4. Scroll to the right, and under More tools, click the Localization and translation tile.
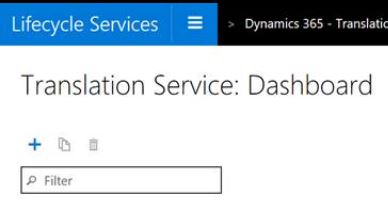
5. Click Enter to access the translation service dashboard.
6. Create a new request by clicking the plus (+) icon.
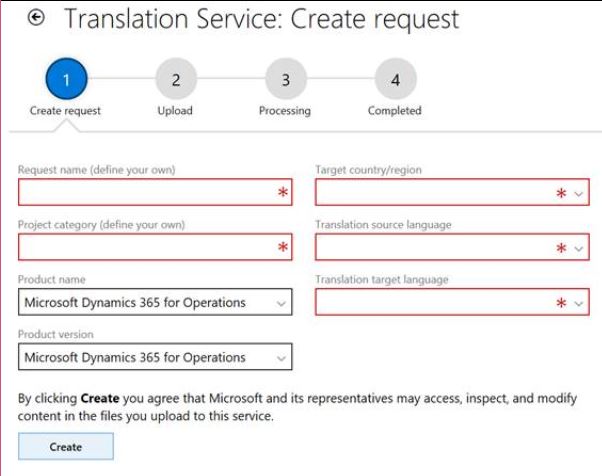
7. The wizard will walk you through the steps to determine languages and files for translation.
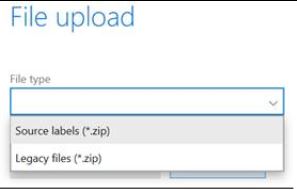
8. Create a .zip file that contains all of your resource files to be translated. This is a required step. The .zip file should contain only Microsoft Dynamics natively-supported resource formats. For example, *.ald or *.txt.
Note: If you have translated files from previous releases, and would like to leverage these existing translations, you must create a separate zip with the legacy source and target resource files. Submit the .zip file as a Legacy files type. The service will use the legacy files to train the translation memory in MT Hub and leverage the translations for your request. This is optional in a translation service request and only Microsoft Dynamics natively supported resource formats are accepted.
The source refers to the language and file that you want to translate from. The target or output refers the language and file you want to translate to. For example, you submit a request to translate an English (United States) file to create a German (Germany) file.
9. After submission, the translation service will start the automated translation and an email notification will be sent when the request is complete. The processing time may vary depending on the files you submitted. If there is a legacy file zip included in a request, the translation service may take longer. You can check the request status from the translation service dashboard or monitor your email inbox.
10. When the request is complete, you can download the translated output files from the Request output tab. You will be provided the output in two formats:
• XLIFF
• Native resource format
The XLIFF file type is provided to help you review and edit as needed. XLIFF is a localization industry standard format which allows you to use your preferred translation editor.
The native resource format is generated by the translation service so that the files are in the same file format you requested and can be used in your product.
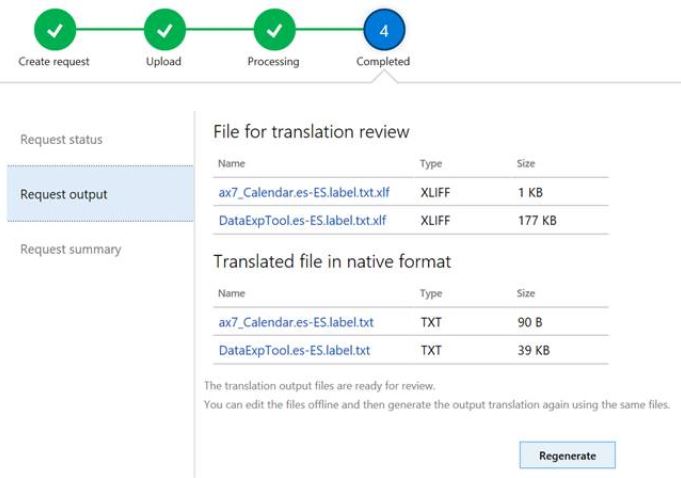
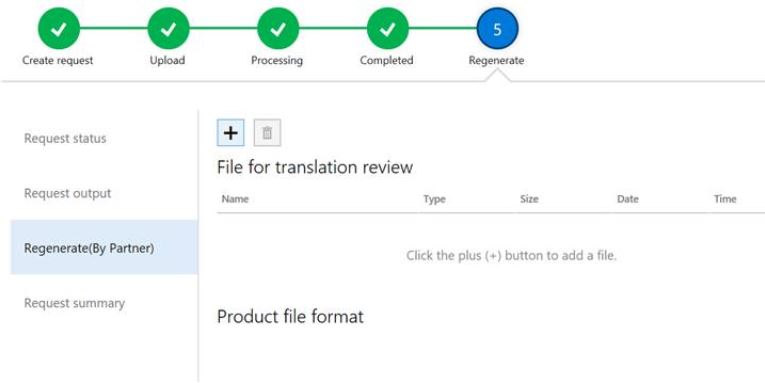
11. If you reviewed and edited an XLIFF file, you will want to regenerate the file in native format so you can apply your edits to the product. Click Regenerate and follow the steps to upload the edited XLIFF file and get the regenerated native format. Note that this does not overwrite the output files the translation service originally created for you. The regenerated files will be available from the Regenerate (By Partner) tab.