Use Microsoft Flow to automate tasks in Dynamics 365 for Marketing
In this blog, you’ll find the following sections to help you use Microsoft Flow to automate tasks in Dynamics 365 for Marketing:
- Prerequisites
- Scenario description
- Solution
- Prepare Dynamics 365 for Marketing
- Create a Microsoft Flow to automate segment creation
- End-user experience
- Taking it further
Prerequisites
The solution proposed in this blog has the following prerequisites:
- Dynamics 365 for Sales or Dynamics 365 Customer Engagement subscription with customization permissions
- Microsoft Flow subscription
- Dynamics 365 for Marketing subscription with administrator permissions
Scenario description
Within organizations today we increasingly see staff diversify their roles to cover activities which may not be their core discipline. This situation often leads to challenges for the individual to learn an area which may only be used on occasion, and to receive training in applications which are used sporadically. For occasional users of Dynamics 365 for Marketing, the terminology and controls used in the application would be unfamiliar and could lead to resistance to adopting processes that span multiple applications or that are not explicitly tailored to their tasks.
Consider a scenario where a company desires to implement a process in which on a quarterly basis, on-the-road salespeople need to trigger email communication to the primary contact of accounts which have had orders fulfilled in the last quarter. These salespeople work primarily on tablets and want to retain ownership of the action so to align with their needs, goals and targets but are unfamiliar with the Segmentation process in Dynamics 365 for Marketing. For this user scenario, there are only a few parameters which are changing (start and end date of the quarter) but creation such segment, would require the salesperson to traverse the data model. Instead, providing a simple input dialog for the key variables would allow segments to be created quicker and correctly.
Solution
Using Microsoft Flow, it is possible to automate the creation of records in Dynamics 365 for Marketing, including those that can drive key functionality like segmentation and customer journeys. The example below illustrates a possible solution aimed at allowing a minimal effort on behalf of the salesperson, following a simple setup by the Marketing team.
Prepare Dynamics 365 for Marketing
- Ensure all the relevant entities are synched to insights. For the purpose of this scenario, we are adding the Sales Order entity to the Customer Insights Sync, first navigating within the Marketing App to the Settings Area.
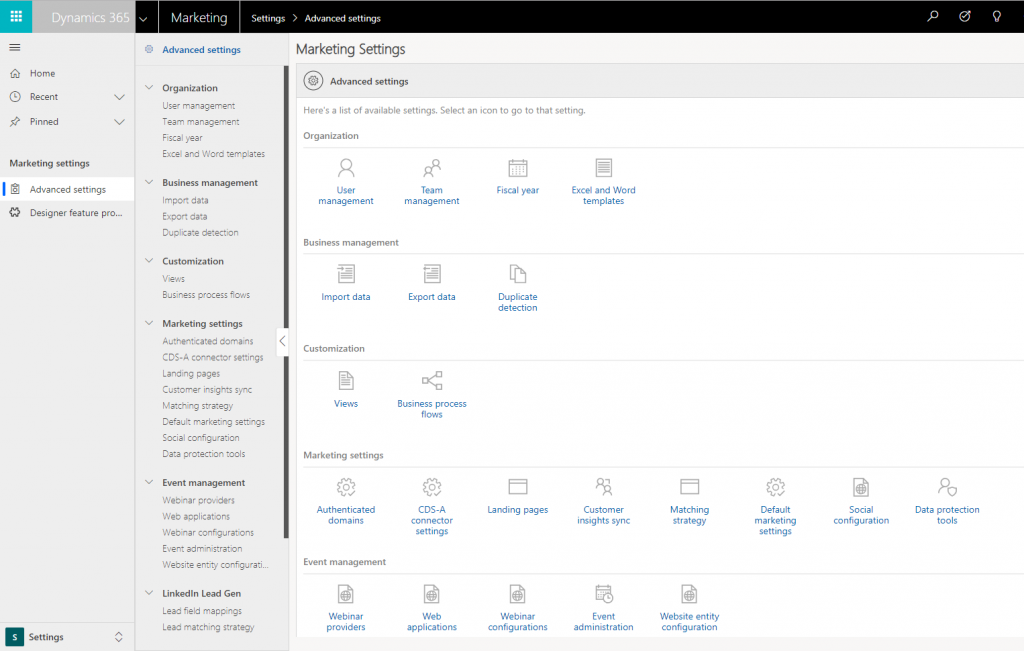
In this area, when selecting Customer Insights Sync in the Marketing Settings section, we are able to view the entities which are currently synchronized. These are the entities that can be used in segmentation.
For more information, see this article: Marketing settings.
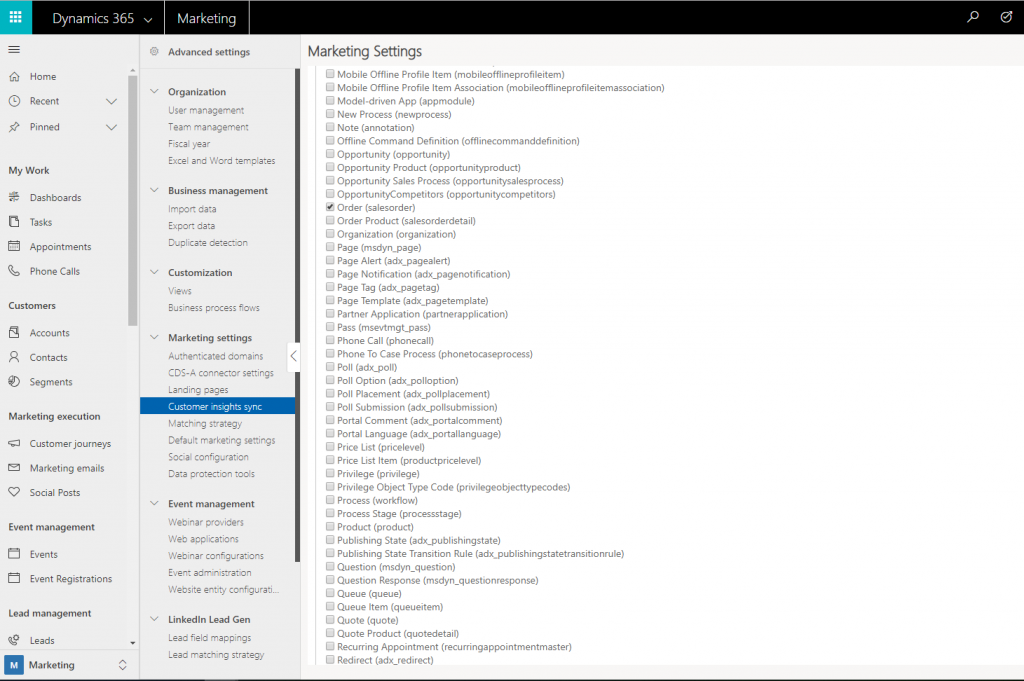
After the relevant entities are added, publish the changes. For this scenario, we added Order only because the entity already connects to Contacts.
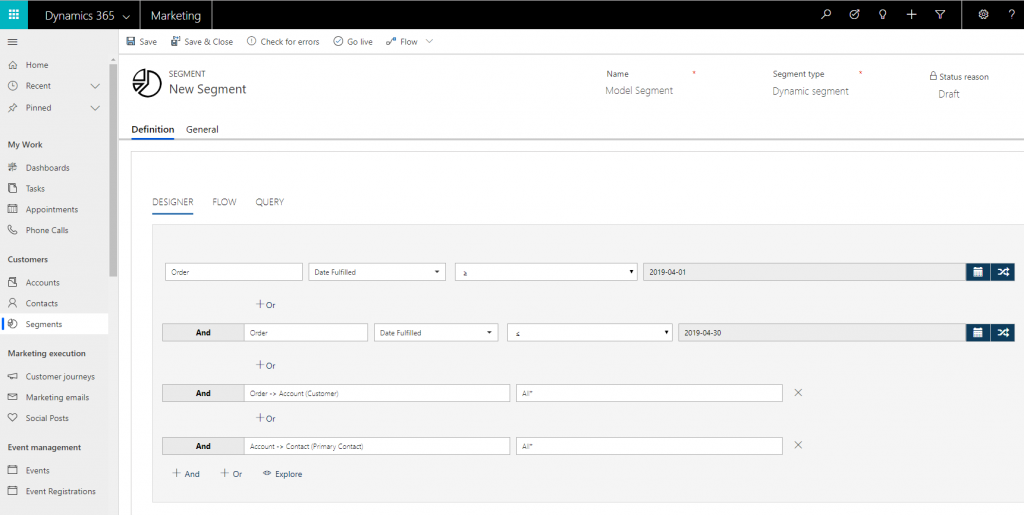
2. In the Marketing app, create a segment to be used as a model for the dynamic segments to be created by users. (See Working with segments.)
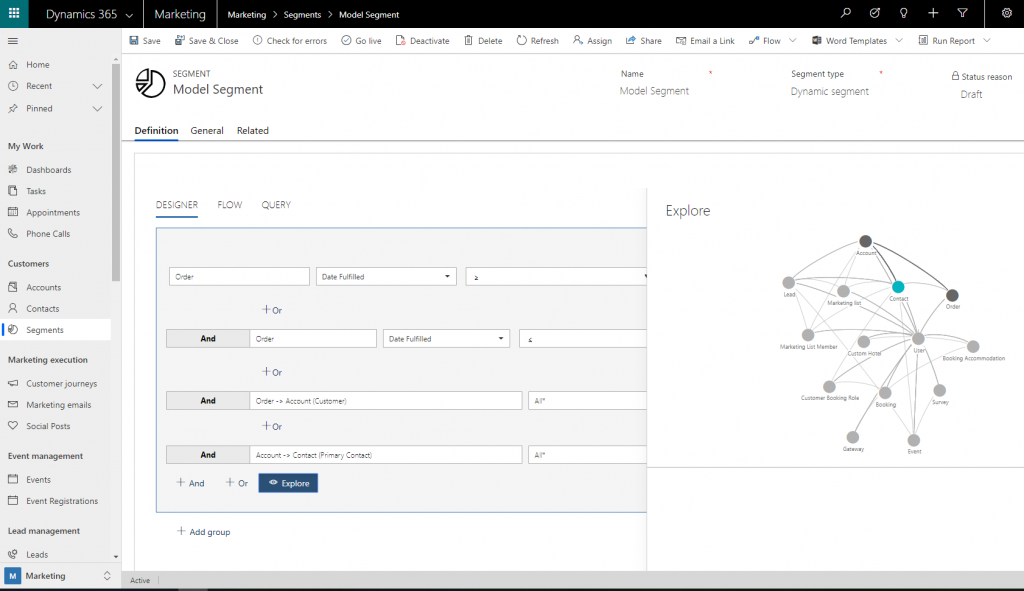
Using the Explore view, we can confirm the data model is being navigated correctly by the created segment.
- In the “Query” tab we can see the details of the query created as part of the segment. This will become an important part of the automated creation. In our example, the resulting query is:
PROFILE(salesorder).FILTER(datefulfilled >= DATE(2019, 4, 1, 0, 0) && datefulfilled <= DATE(2019, 4, 30, 0, 0)).TRAVERSE(salesorder_account_customerid).TRAVERSE(account_contact_primarycontactid)
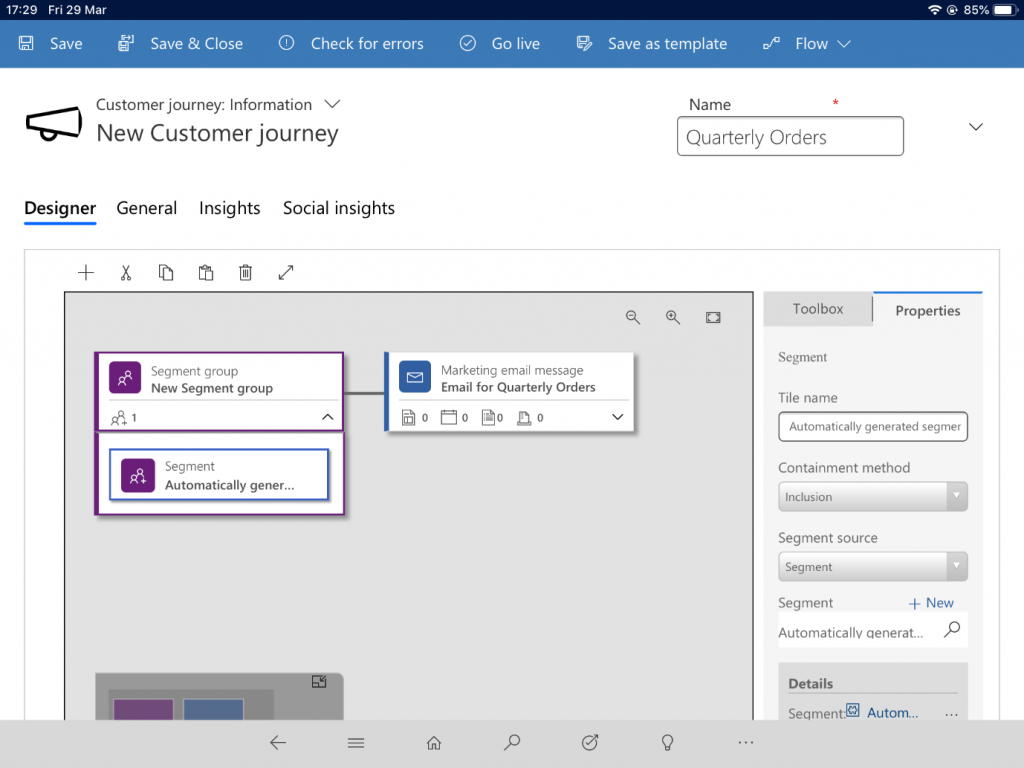
- Create a Customer Journey template which the salespeople will be able to use to communicate with the end-users. (See Create and manage customer journey templates.) The Customer Journey template can start with a segment and have a predefined email message to use, thus making it easier for salespeople to send the communication.
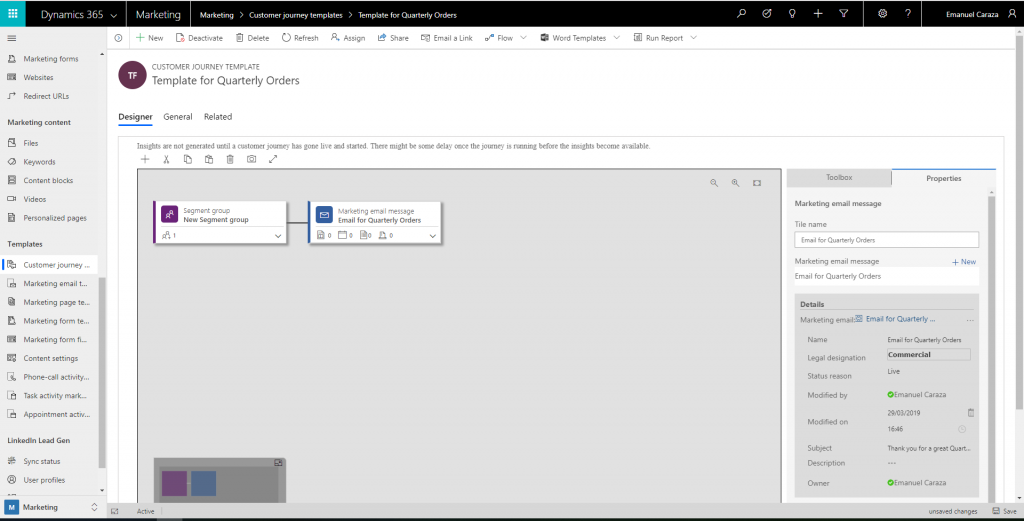
At this point, our Dynamics 365 for Marketing app has the necessary building blocks enabled. Order has been added as entity that can be used in the segmentation and we have obtained the model of the segment we will creating in an automated fashion.
Create a Microsoft Flow to automate segment creation
- Next step is to create the Microsoft Flow which will be used by the end users. Documentation for Flow is available at https://docs.microsoft.com/flow/.
- From the Segment view, click Flow and select See your Flows.
- Create a new flow from blank.
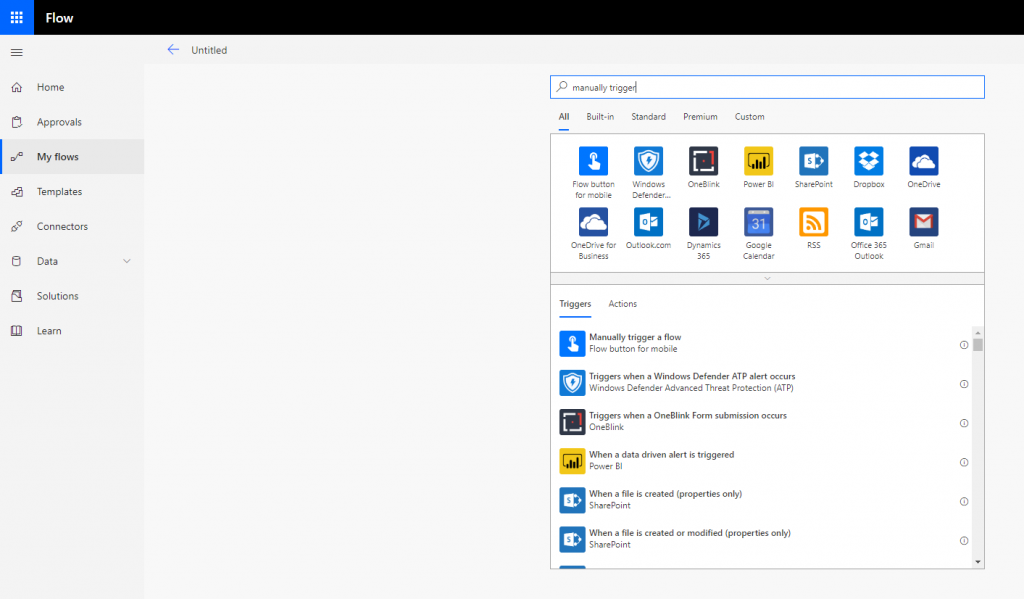
- In the new flow, search for the trigger Manually Trigger a flow.
- Add two date inputs (for example, Start Date and End Date).
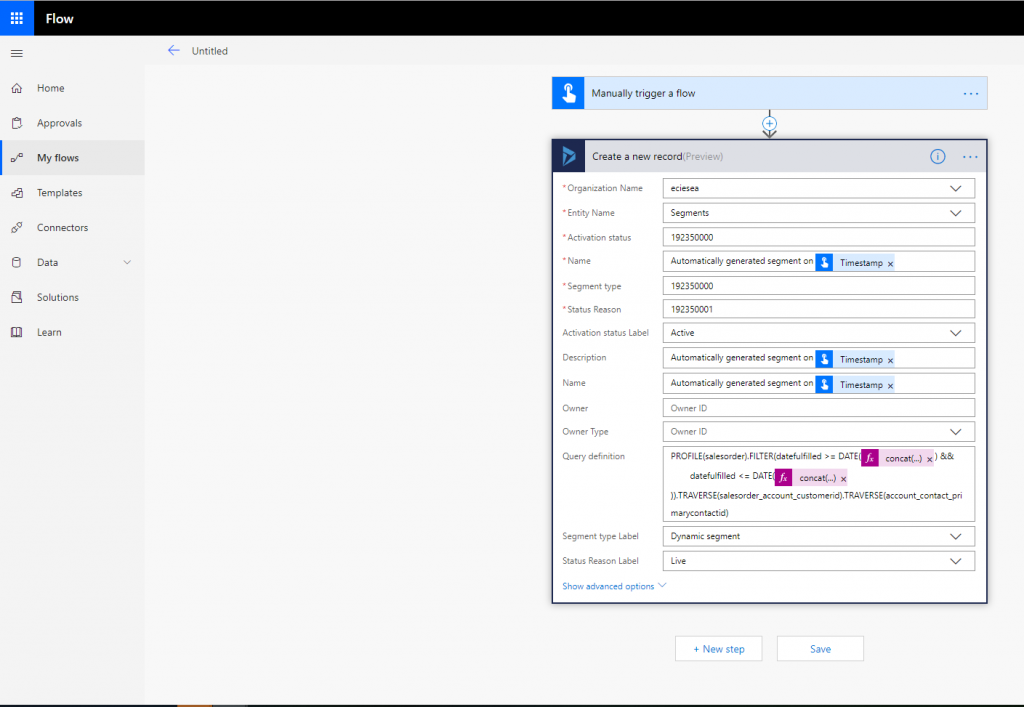
- Add a step after the trigger to create a new Dynamics 365 record.

- Select the relevant organization and the entity Segments.
- Ensure the mandatory fields contain data. For option set fields, the numeric values of the desired option should be selected. Because in this example we want the segment to be activated immediately for evaluation we are using the following values:
- Activation Status = 192350000 (Active)
- Segment Type = 192350000 (Dynamic)
- Status Reason = 192350001 (Live)
- In the query definition we use the query from the model segment, substituting as necessary the input parameters captured in the manual trigger. The input may require conversion to match the query syntax. In the example, the resulting Step should look similar to this:
- In order to correctly convert the date inputs into the text to substitute, the following Expression was used:
concat(formatDateTime(triggerBody()[‘date’],’yyyy’),’,’,formatDateTime(triggerBody()[‘date’],’MM’),’,’,dayOfMonth(triggerBody()[‘date’]),’,0,0′)
- The Flow can now be saved, tested and shared with the relevant people (in this case the sales individual).
- After the configuration has been tested, the users may wish to be able to view the segments they create. For this, you can add Segment and Customer Journey as an entity to the Sales Hub App and to its Sitemap. For a description of the various options available in the Sitemap, see the documentation. The screenshot below shows an example.
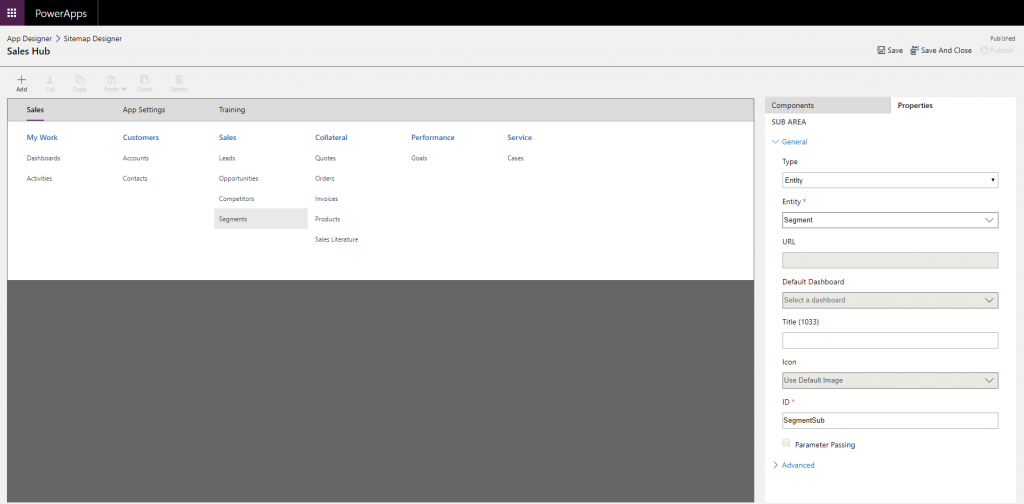
In this section we have now defined a Flow process which will prompt the users for key parameters that need updating on each segment creation. Our Sales Hub App is also ready to consume the Dynamics 365 for Marketing functionality we have decided to expose to the salesperson.
End user experience
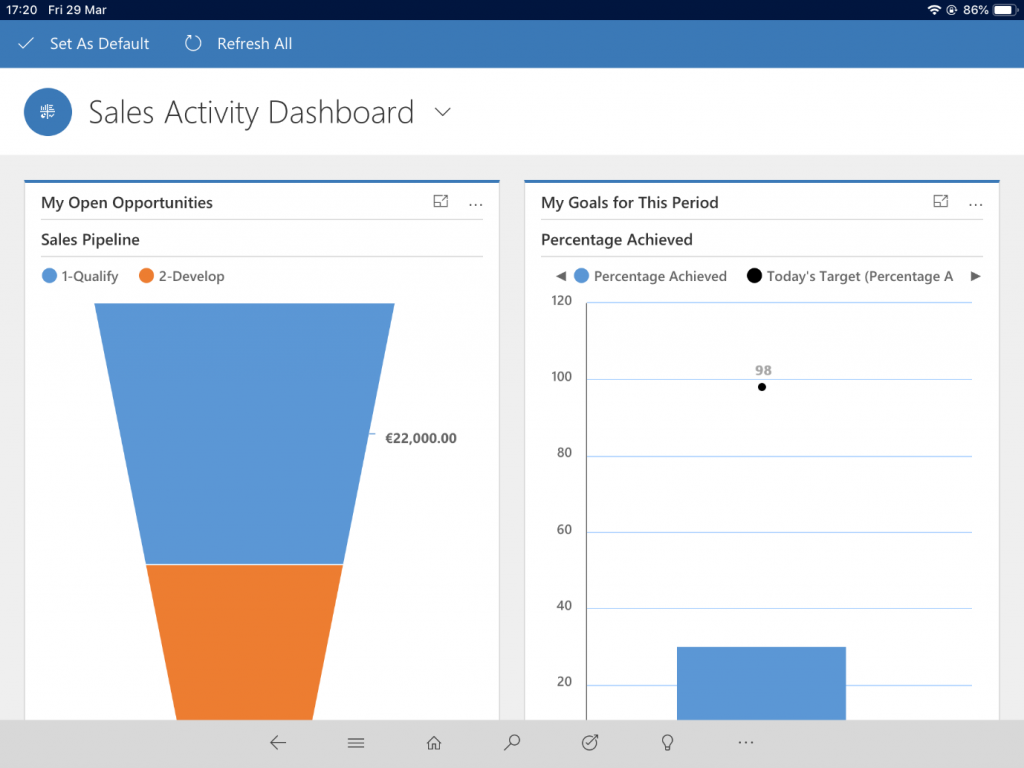
With the configuration in the solution, users working on a tablet, will be able to view segments and also trigger Flows to allow for the creation of new segments based on the input criteria. Let’s take a look:
- Salesperson can now sign in on their tablet.
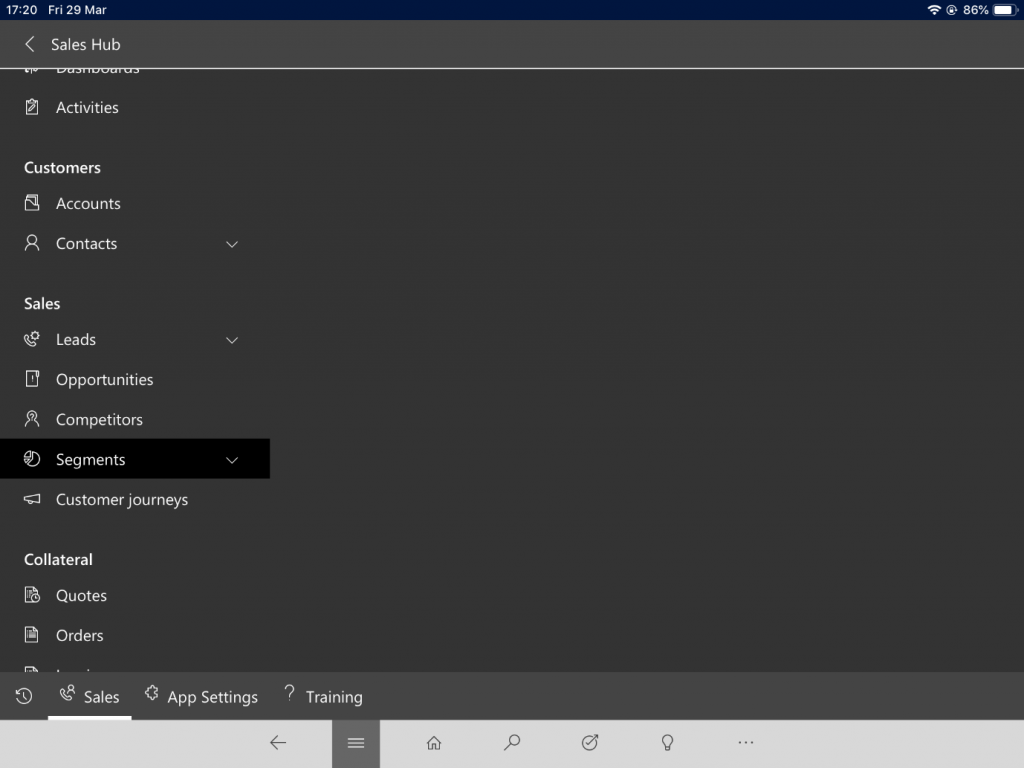
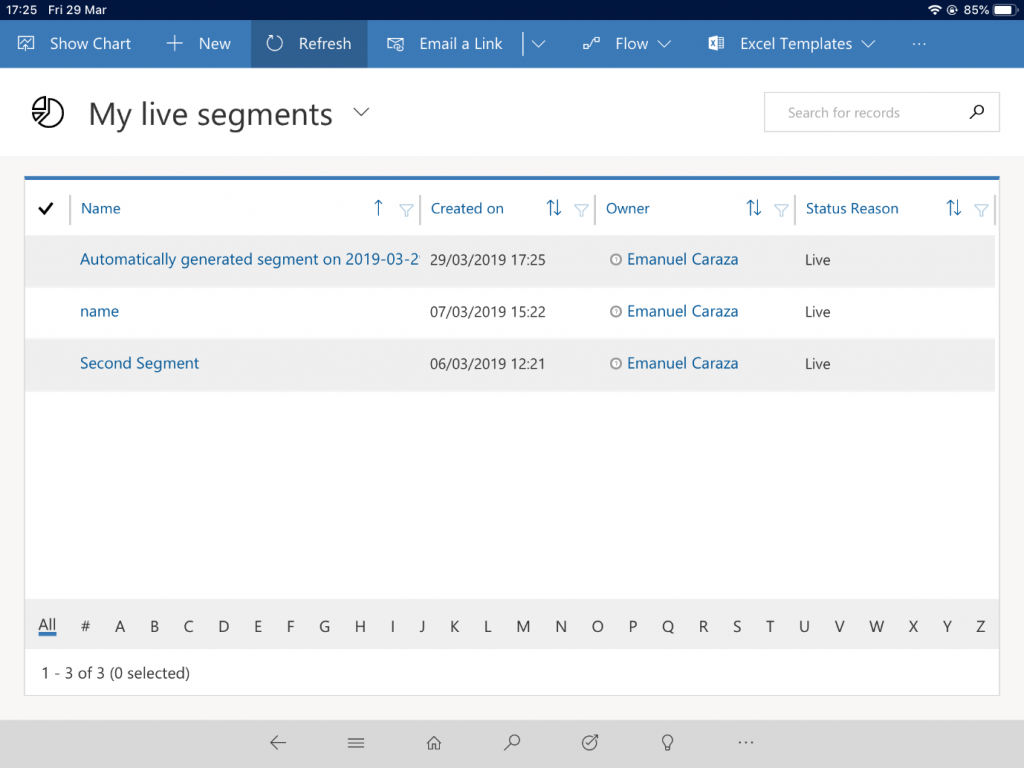
- In the navigation menu, the entities for Segment and Customer Journey now appear. Selecting Segment, allows navigation to the latest list.
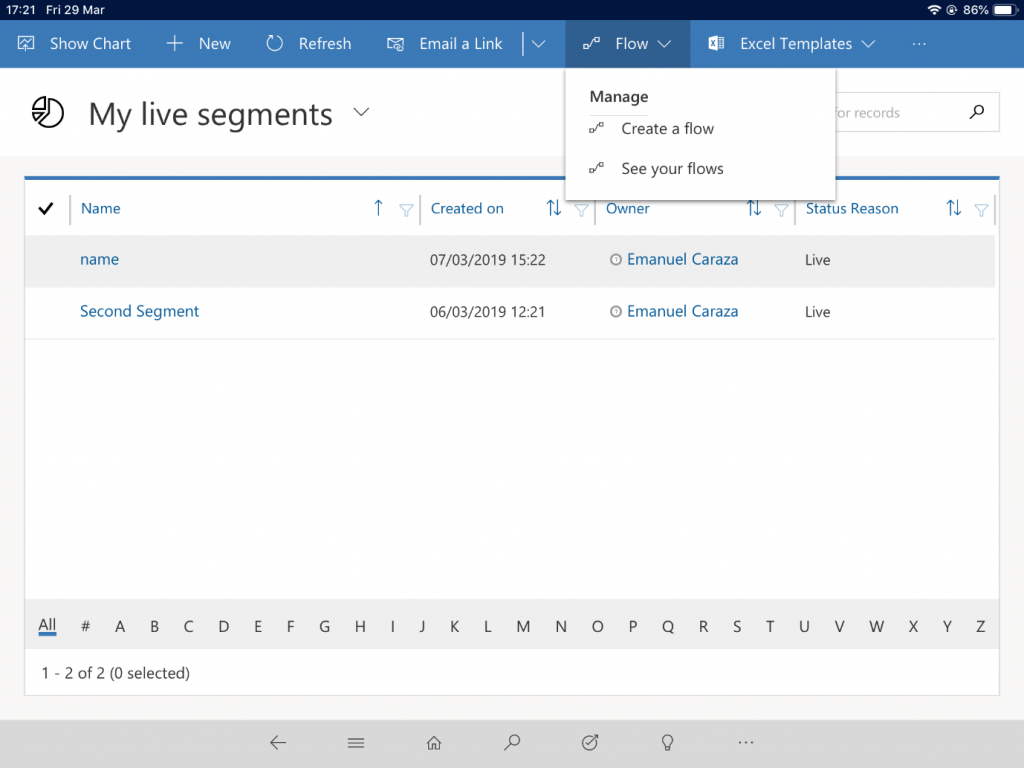
- From the list of segments, the salesperson can go to Flow –> See your flows
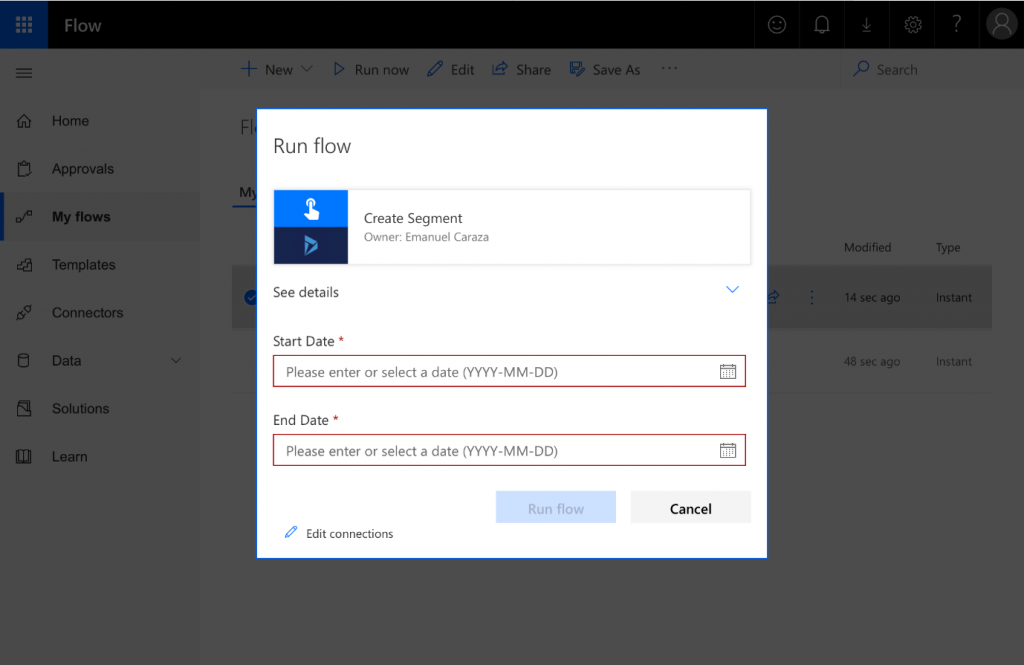
- From the list of Flows, run the Flow that has been shared with the user, entering values for the start and end date of the fulfilled orders to use in the marketing communication
- Back in the Dynamics App, review the list of segments to find the newly created one.
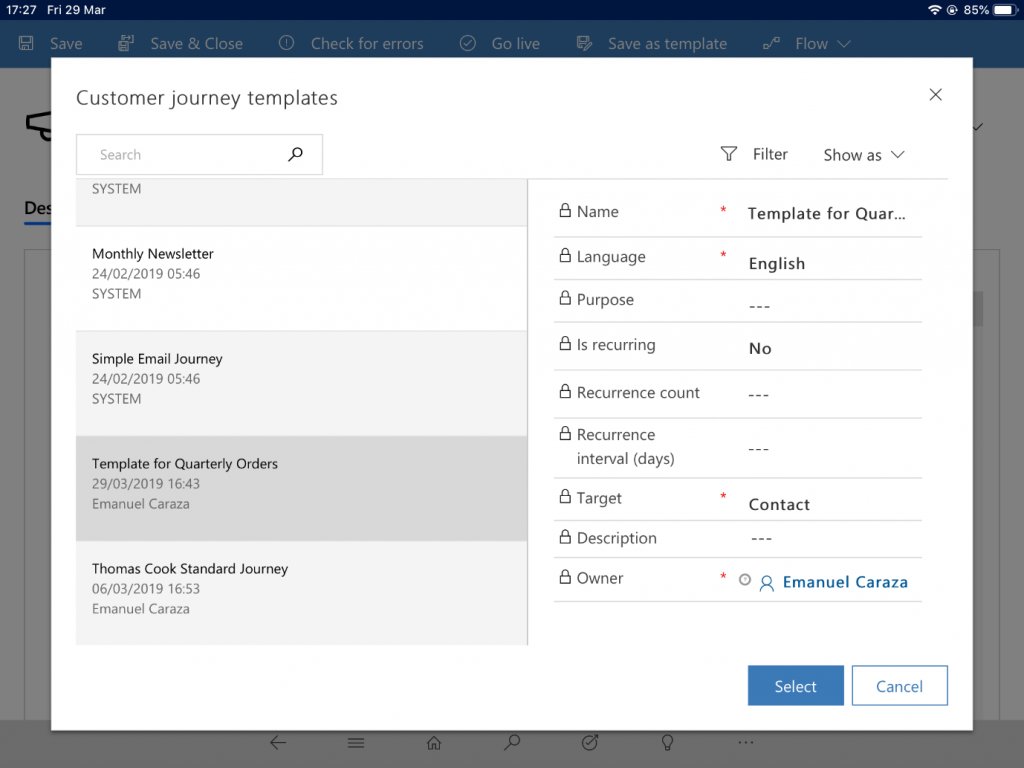
- Create a Customer Journey from the template
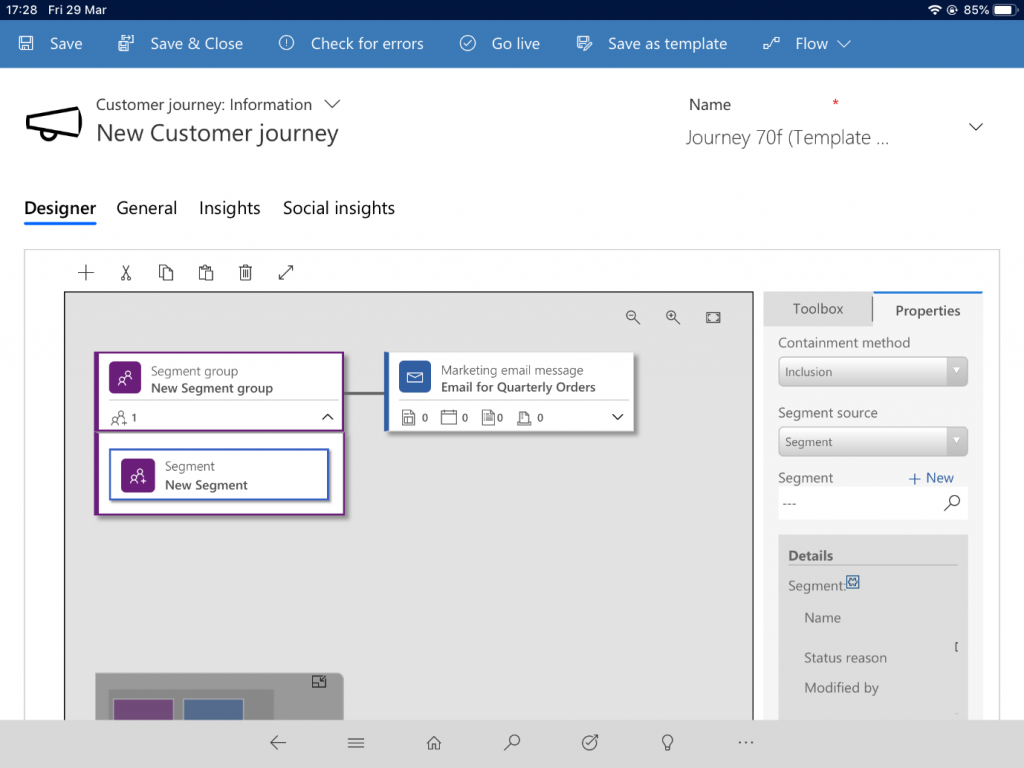
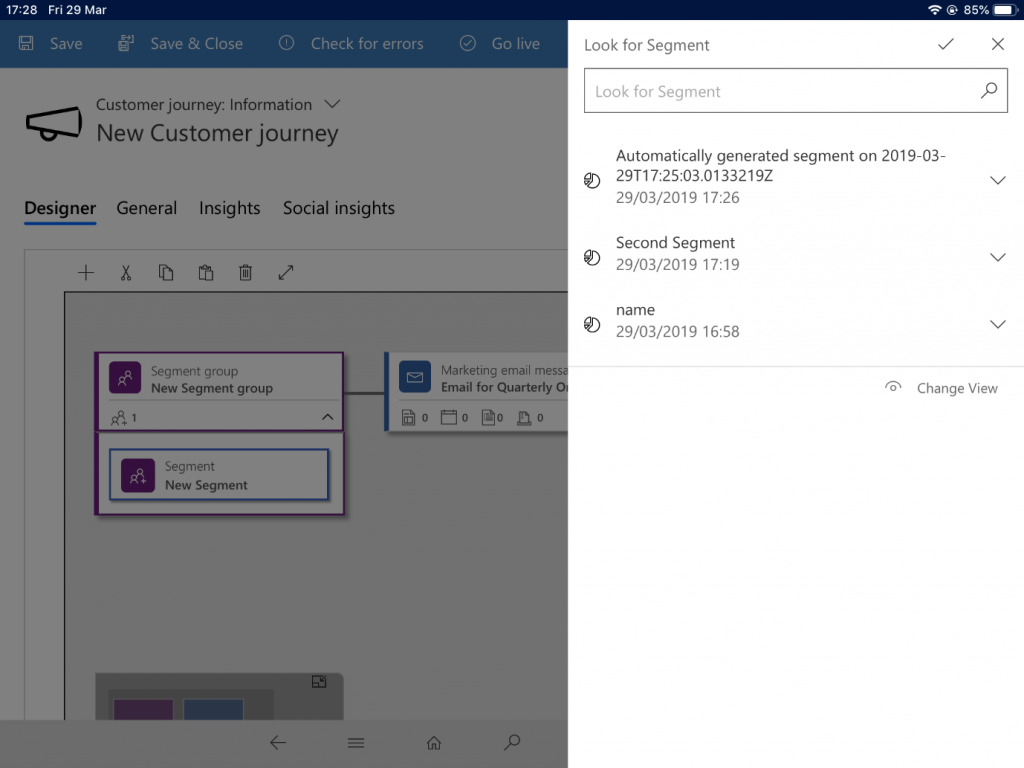
- In the new Customer Journey, user can select the segment that has been created by Microsoft Flow and “Go Live” with the Customer Journey
Taking it further
Through this process we have created a code-free extension to our Sales Hub App to expose targeted Dynamics 365 for Marketing functionality to our salespeople. In addition, we have simplified the segment creation process by using Microsoft Flow to reduce the learning curve and the potential for errors by users who are not focused on marketing activities. Finally, this was made available for on-the-go users in their mobile devices.
An alternative approach to the one described could be to use Microsoft Flow to create a copy of the model segment but leave it in a Draft state by changing the value of the Status Reason. The benefit of this approach would be that users would not have to interact with the Microsoft Flow input dialog and could change any other parameter in the segment. In this approach, it should be considered that the end users would need to become familiar with the segment creation controls and understand the activation process to complete the task.
We hope you find this approach a useful scenario in addressing cross-app and automation scenarios.
Thank you for the interest in the topic and feel free to comment and give your feedback.
Emanuel Caraza
Principal Solutions Architect, Microsoft Dynamics FastTrack